Understanding and Replacing Common Singer Featherweight Motor Brushes
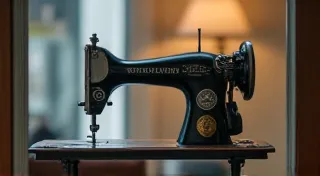
The Singer Featherweight sewing machine is a beloved classic, renowned for its portability, durability, and the beautiful stitch it produces. While generally robust, the motor within this iconic machine is a crucial component that, over time, can develop issues. A common failure point is the motor brushes. These brushes transfer electricity to the commutator, allowing the armature to spin and power the sewing mechanism. This article provides a detailed, step-by-step guide on identifying worn motor brushes, safe removal and replacement techniques, and understanding the different types you might encounter, ensuring your Featherweight continues to hum smoothly.
Why Motor Brushes Wear Out and What to Look For
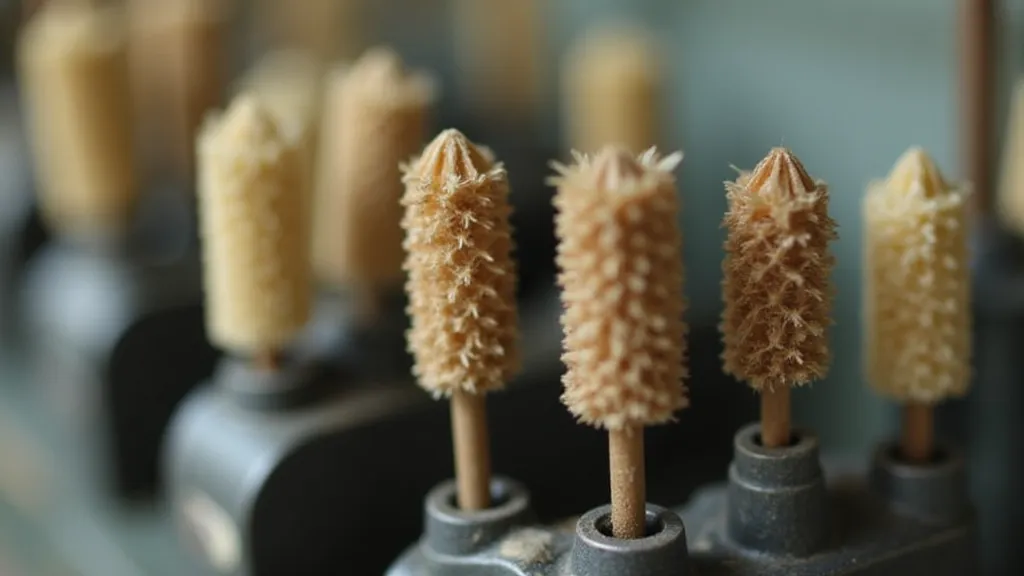
Motor brushes are consumable parts. They’re made of carbon or graphite, materials designed to conduct electricity but also naturally erode as they rub against the commutator. The lifespan of motor brushes varies depending on factors such as usage, maintenance, and the specific manufacturing batch. Regular use obviously accelerates wear, while dust and debris within the motor can exacerbate the problem. A poorly lubricated motor can also contribute to premature brush failure.
So, how do you know when your Singer Featherweight motor brushes need replacing? Here are some telltale signs:
- Weak Motor Performance: The machine may struggle to sew through thicker fabrics or sound noticeably weaker than usual.
- Sparking: Visible sparking within the motor housing is a significant indicator. This indicates poor contact between the brush and commutator. Don’t ignore this – it can damage the commutator.
- Burning Smell: A distinct burning smell emanating from the motor is a serious warning sign. It suggests the brushes are severely worn and causing excessive friction.
- Reduced Stitch Quality: Erratic stitching or difficulty maintaining consistent stitch length can also be symptoms of failing motor brushes.
- Visual Inspection: This is the most reliable method. Examine the brushes for signs of wear. Look for:
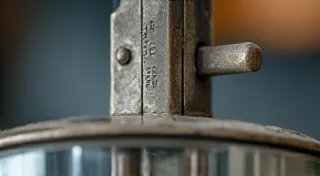
- Short Length: The brushes are significantly shorter than their original length. Most brushes have a wear limit, often marked on the brush holder. If the brush is nearing or past this mark, replacement is necessary.
- Rounded Edges: The edges of the brush should be relatively square. Rounded or excessively worn edges indicate they’re not making proper contact.
- Cracking or Breakage: Visible cracks or pieces of the brush breaking off are clear indicators of failure.
Tools You'll Need
Before you begin, gather the following tools:
- Screwdrivers: A set of small screwdrivers, including a Phillips head and possibly a flathead, will be necessary to access the motor.
- Pliers: Needle-nose pliers are helpful for manipulating the brushes and springs.
- Clean Cloth: For wiping surfaces and cleaning debris.
- Compressed Air (optional): To blow out dust and debris from the motor.
- New Motor Brushes: Ensure you purchase the correct brushes for your Singer Featherweight model. (See "Brush Types" below.)
- Light Source: A flashlight or work lamp will help you see clearly inside the motor.
Step-by-Step Brush Replacement Guide
- Disconnect the Power: Unplug the Singer Featherweight from the power outlet to prevent accidental shock.
- Access the Motor: This varies slightly depending on the model but generally involves removing the lower casing of the machine. Consult your Singer Featherweight manual for specific instructions.
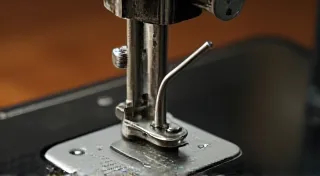
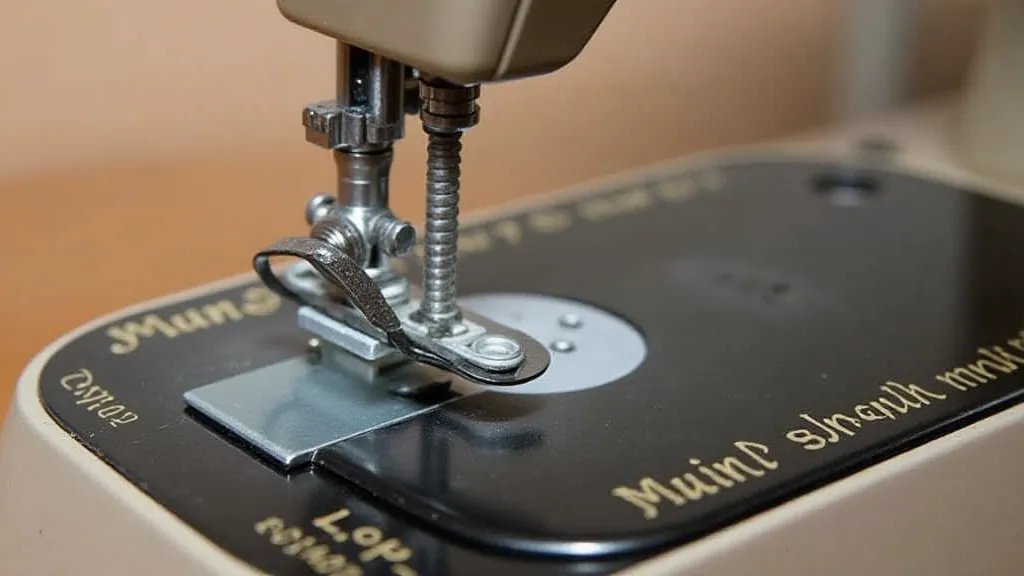
- Locate the Brush Holders: The motor brushes are housed in brush holders, typically located on either side of the motor.
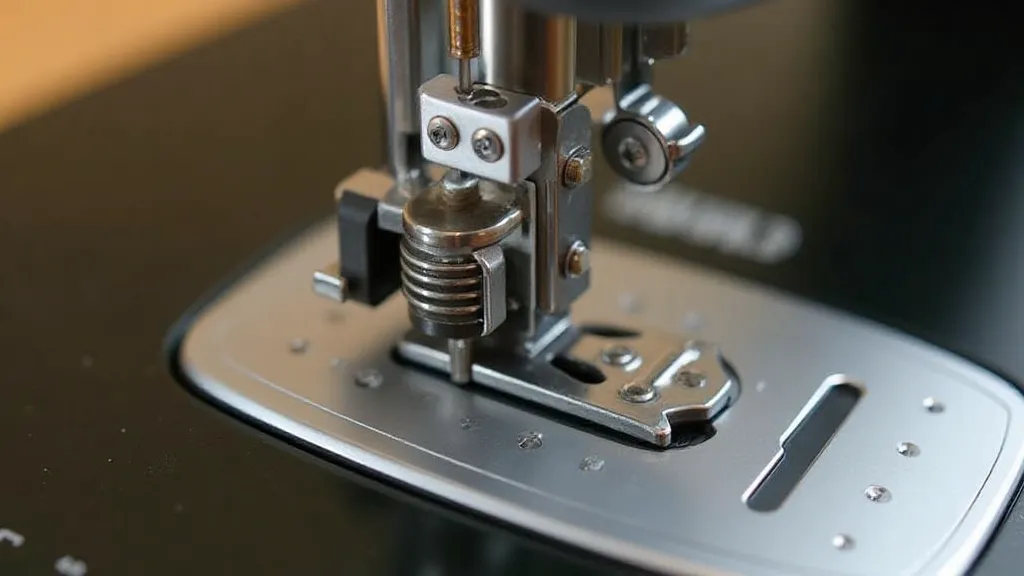
- Release the Brush Springs: Each brush is held in place by a spring. Gently depress the spring and carefully pull the brush out of the brush holder. The spring may require some persuasion. Be careful not to lose the spring.
- Remove the Old Brush: Once the spring is released, the old brush should slide out.
- Inspect the Commutator: While the brushes are removed, take a moment to inspect the commutator. It should be clean and smooth. If it’s heavily soiled or has deep scratches, it may require cleaning or, in severe cases, resurfacing – a more advanced repair.
- Install the New Brush: Insert the new brush into the brush holder, ensuring it sits firmly.
- Secure the Brush Spring: Carefully replace the brush spring, ensuring it holds the brush securely in place.
- Repeat on the Other Side: Repeat the process for the other brush.
- Reassemble the Machine: Reassemble the machine according to the reverse order of disassembly.
- Test the Motor: Plug in the machine and test the motor. It should run smoothly and quietly.
Understanding Brush Types
Singer Featherweight motor brushes aren't all created equal. There are variations in size and material, primarily due to different motor manufacturing batches over the years. Here's a general overview:
- Carbon Brushes: These are the most common type. They are relatively inexpensive and readily available.
- Graphite Brushes: These offer slightly better conductivity and longer life but are less common.
- ‘Long’ vs. ‘Short’ Brushes: Some early Featherweight motors used slightly longer brushes than later models. While either type *can* technically fit, the correct length helps ensure proper contact and minimizes sparking. If you are experiencing persistent sparking, try a different length brush.
Important Note: Always purchase replacement brushes from a reputable supplier specializing in vintage sewing machine parts. This ensures you receive the correct type and quality of brushes.
Troubleshooting Common Issues
Even after replacing the brushes, you might encounter a few issues:
- Continued Sparking: If sparking persists, the commutator may be dirty or damaged. Cleaning the commutator with a commutator cleaning stick (available from sewing machine parts suppliers) can sometimes resolve the issue. If the commutator is severely damaged, it may need to be resurfaced by a professional.
- Weak Motor Performance: Ensure the brushes are making good contact with the commutator. Check that the brush springs are correctly positioned and providing adequate pressure.
- Machine Won't Start: Double-check that the brushes are installed correctly and the brush springs are secure. The problem could also lie in other electrical components of the machine.
Conclusion
Replacing Singer Featherweight motor brushes is a relatively straightforward repair that can significantly improve the performance of your beloved machine. By following this guide and understanding the nuances of brush types and common issues, you can ensure your Featherweight continues to stitch beautifully for years to come. Regular maintenance, including periodic brush inspection, is key to preventing major repairs and preserving the longevity of your vintage sewing machine.