Understanding the Singer 66 Stitch: A Comprehensive Guide
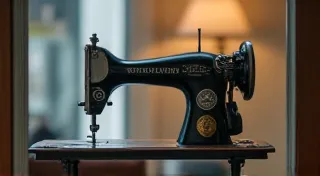
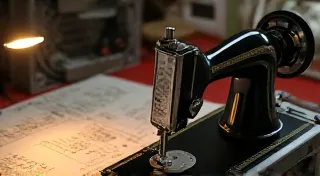
The Singer 66 is a legend. A workhorse. A cornerstone of domestic sewing history. If you're embarking on a vintage sewing machine restoration project, chances are you'll encounter this model. This guide will explore the Singer 66’s stitch, its history, how it works, common issues encountered during restoration, and, crucially, how to achieve consistently beautiful stitches.
A Brief History of the Singer 66
Introduced in 1924, the Singer 66 was a significant evolution in home sewing machine design. It replaced the popular Model 9, offering improvements in efficiency and durability. Its key innovation was the adoption of a locking stitch mechanism, more commonly found in industrial machines, offering a stronger and more secure seam. The 66’s construction, featuring a robust cast iron frame and reliable mechanical components, contributed to its longevity. Millions were produced, securing its place as a true classic. Owning a vintage Singer is a testament to the enduring quality of engineering from a bygone era, and understanding its intricacies, such as the stitch itself, unlocks a world of possibilities for garment creation and repair. It’s a fascinating journey to understand why these machines became so iconic, representing a shift in household technology.
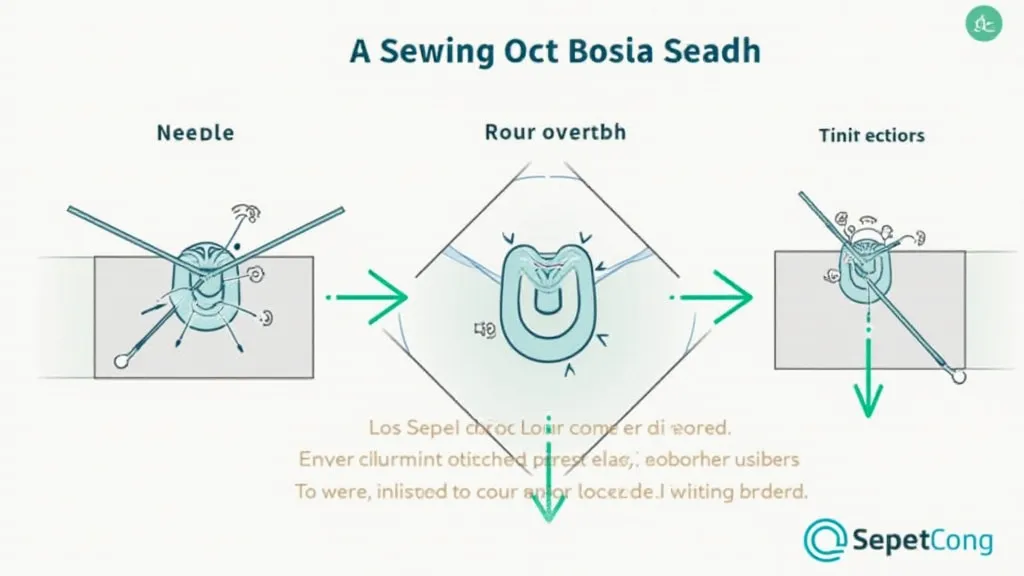
How the Singer 66 Stitch Works
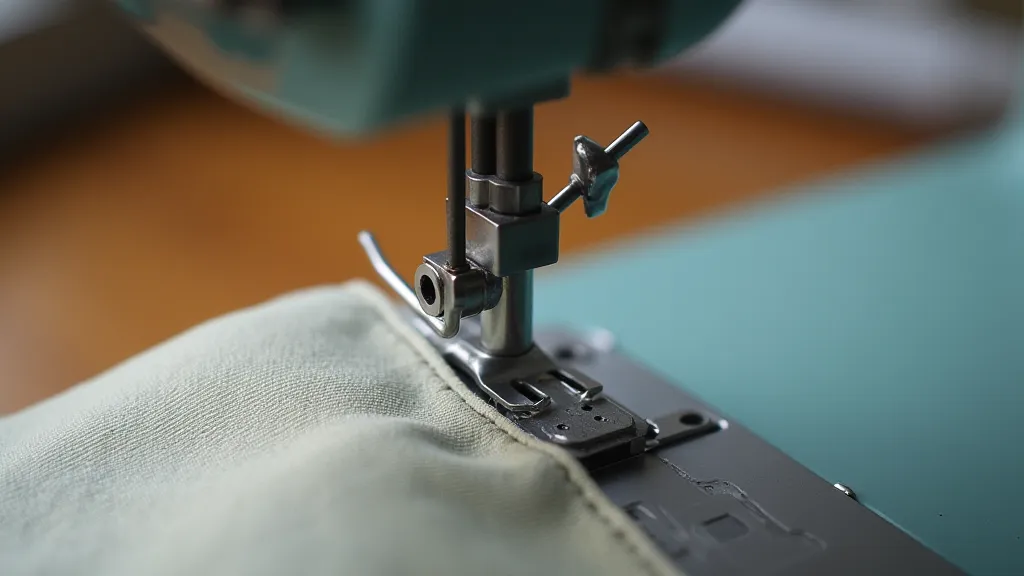
The Singer 66 employs a lockstitch, just like many other domestic sewing machines. However, the 'locking' aspect is more pronounced than in earlier models. This robust locking mechanism is key to the 66's reputation for durability. Here's a simplified breakdown:
- The needle descends and forms a loop of thread.
- The bobbin hook catches this loop and pulls it through.
- The needle returns to its starting position, and the process repeats, creating a secured stitch.
- The locking action occurs when the bobbin thread is pulled tight, effectively 'locking' the upper and lower threads together.
Common Issues During Restoration & Repair
Restoring a Singer 66 can be rewarding, but certain issues are frequently encountered. Vintage machines often require careful attention and a methodical approach to bring them back to their former glory. Many restorers find that consistent thread bunching is related to issues with the bobbin winder.
- Sticking/Binding: Often caused by dried lubricant or rust. Thorough cleaning and lubrication are essential.
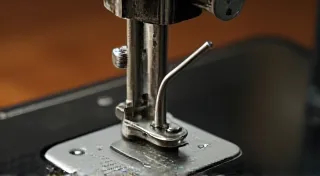
- Bobbin Case Problems: The bobbin case is prone to wear and damage. A faulty bobbin case will result in uneven stitches, thread nests, or thread breakage. Understanding the functionality of the bobbin winder and its connection to consistent results can be a valuable learning experience.
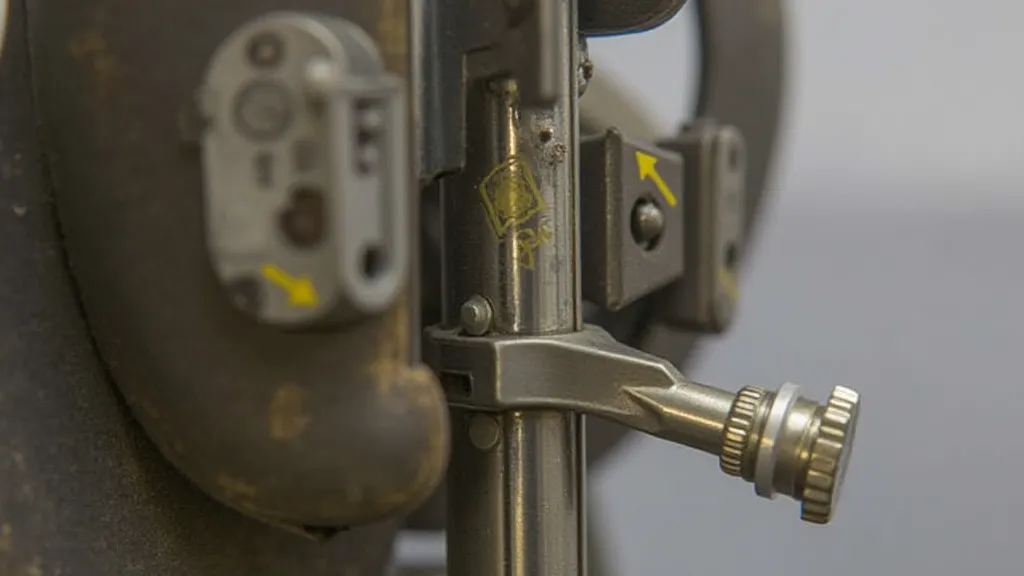
- Needle Bar Issues: Worn or damaged needle bar components can impact stitch formation. Maintaining proper needle bar stability is vital for consistent stitch quality.
- Timing Problems: Incorrect timing between the needle and hook can lead to skipped stitches or thread jams. This is a more advanced repair.
- Rust & Corrosion: Particularly common on machines stored in damp conditions. Requires careful cleaning and rust removal.
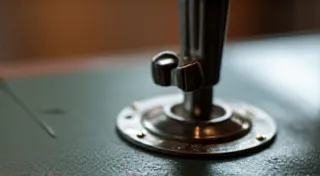
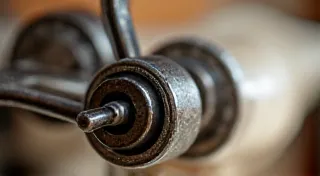
Proper tension is critical for a beautiful stitch. The Singer 66 has both upper and lower tension adjustments. Understanding how these adjustments impact your stitches is a key skill for any vintage sewing machine enthusiast. Here's how to troubleshoot:
- Upper Tension: Start by adjusting the upper tension dial. Typically, a higher number means tighter tension.
- Lower Tension: The lower tension is usually fixed, but can be adjusted slightly by changing the bobbin case spring. This is a more advanced adjustment.
- Testing: Sew a test piece of fabric. If the top thread loops on the underside, tighten the upper tension. If the bobbin thread shows on the top, loosen the upper tension.
- Fabric Type: Different fabrics require different tension settings. Thicker fabrics generally need looser tension.
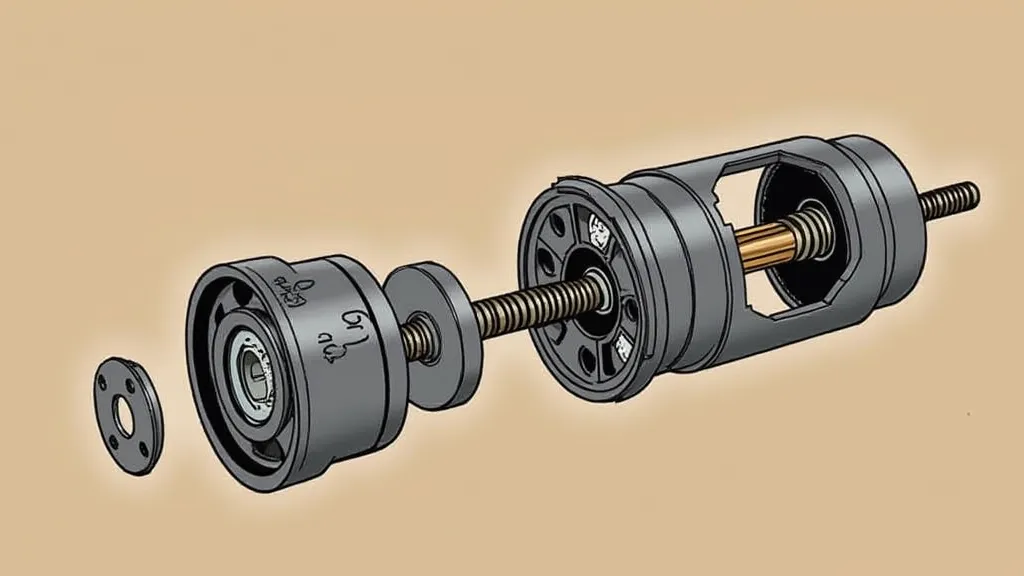
Bobbin Case Troubleshooting
A faulty bobbin case is a common culprit for stitching problems. Key things to check:
- Bobbin Case Alignment: Ensure the bobbin case is correctly seated within the machine.
- Bobbin Case Spring: The spring provides tension on the bobbin thread. A weakened or damaged spring can lead to uneven stitches.
- Bobbin Thread Path: Make sure the bobbin thread is correctly threaded through the tension slot in the bobbin case.
- Bobbin Case Wear: Inspect the bobbin case for cracks or excessive wear. Replacement is often the best solution.
Beyond the basic troubleshooting steps, consider factors like the type of thread you're using, the condition of your needle, and the overall cleanliness of the machine. Regular maintenance, including oiling and cleaning, will extend the life of your Singer 66 and ensure smooth operation for years to come. Maintaining this machine is not just about fixing problems; it's a journey into the craftsmanship and ingenuity of a bygone era. A thorough understanding of sewing machine mechanics also equips you with the skills to tackle a wide range of repairs and adjustments, allowing you to fully appreciate the beauty and functionality of this iconic machine.
Restoring a Singer 66 is a project that combines mechanical aptitude with a respect for history. With careful attention to detail and a methodical approach, you can breathe new life into this iconic machine and enjoy perfectly formed stitches for years to come. It’s a testament to the enduring legacy of Singer and a rewarding experience for any vintage sewing enthusiast.