Sewing Machine Motor Repair: Troubleshooting and Replacement
Electric sewing machines are marvels of engineering, but even the most robust motors can experience issues over time. This guide provides a comprehensive look at diagnosing and repairing common problems with vintage sewing machine motors, offering practical advice for restoration and ongoing maintenance.
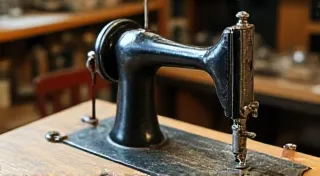
Understanding Your Sewing Machine Motor
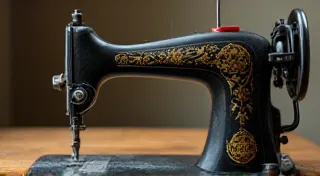
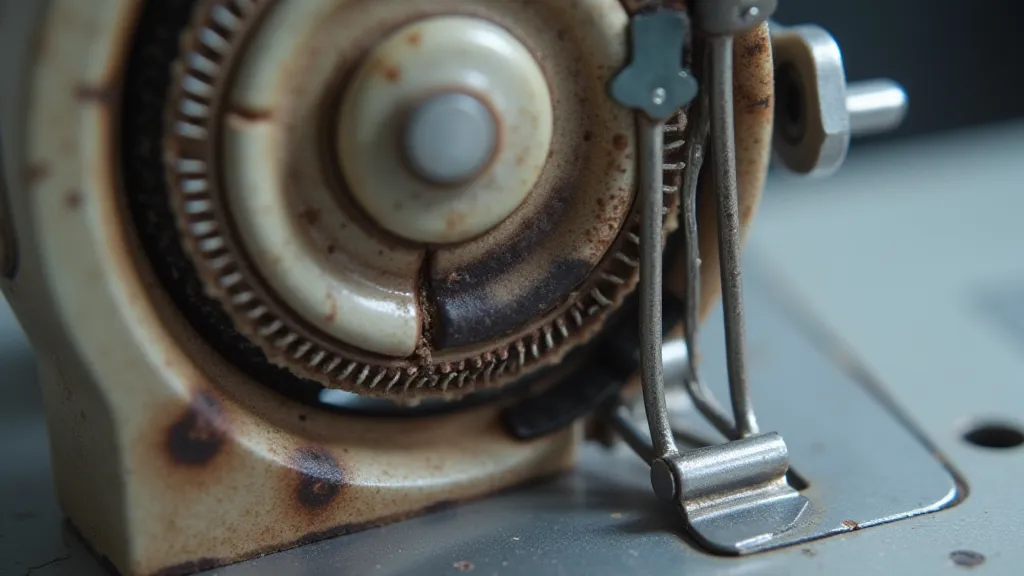
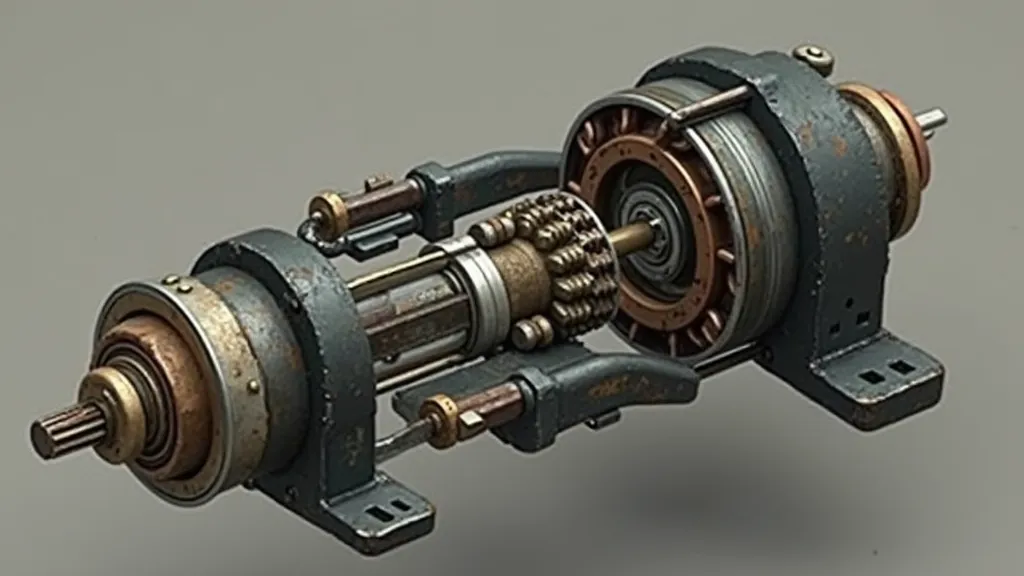
Before diving into repairs, it’s important to understand the basics. Most vintage electric sewing machine motors operate on household current (usually 110V or 220V – always check the motor’s label). They typically consist of a stator, a rotor, bearings, brushes (in brushed motors), and a commutator (also for brushed motors). Knowing the type of motor (brushed or brushless, though brushed are far more common on vintage machines) is crucial for proper troubleshooting. Many factors contribute to a smooth running machine, from the handwheel's interaction with the motor to the condition of the belt; understanding these connections can save a lot of headache. If your machine is exhibiting unusual vibrations or sounds, it could be the direct result of a problem elsewhere in the system.
Common Motor Problems & Troubleshooting
Let’s explore some frequently encountered issues and how to tackle them:
1. Motor Doesn't Run
- Power Supply: Ensure the machine is plugged in and the outlet is working. Test with another device.
- Foot Pedal: A faulty foot pedal can prevent the motor from receiving power. Try a different foot pedal if possible.
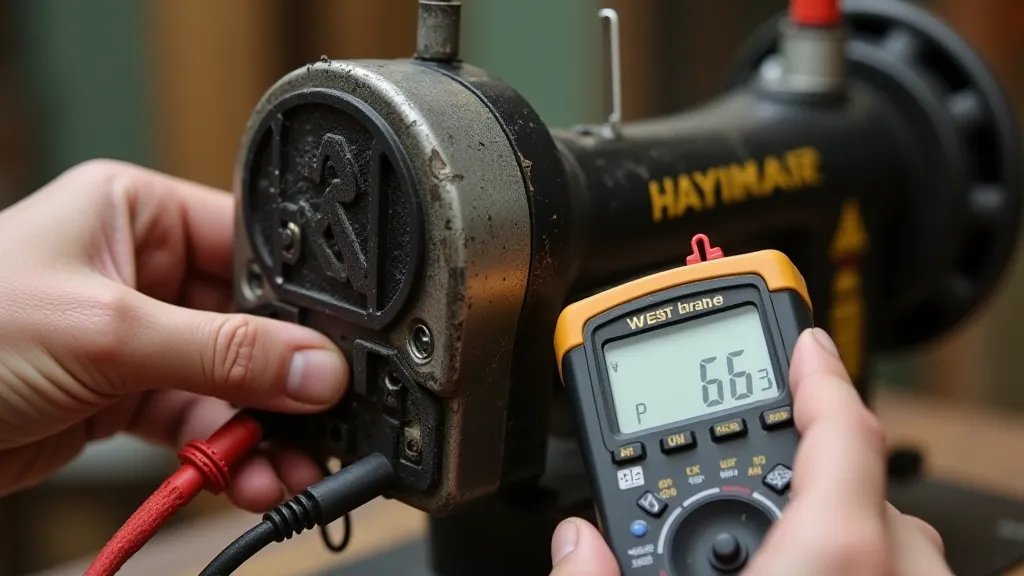
- Wiring: Check the wiring harness connecting the foot pedal to the motor. Look for loose connections, frayed wires, or breaks. Use a multimeter to test for continuity.
- Motor Switch: Many machines have an on/off switch on the motor itself. Check if this switch is functioning correctly.
- Overload Protection: Some motors have an internal overload protector. This may have tripped, requiring a cool-down period before it resets.
2. Motor Runs Slowly
- Brush Wear (Brushed Motors): Worn brushes are a common cause of slow motor speed. Replace brushes if they are worn below the recommended length. Regular inspection, like you might do with sewing machine belt replacement, can help prevent this issue.
- Dirty Commutator (Brushed Motors): A dirty or corroded commutator can impede current flow. Clean it with a commutator cleaning stone.
- Capacitor (Some Motors): Some motors utilize a capacitor to assist with starting and speed. A faulty capacitor can lead to slow performance. Test the capacitor with a capacitor tester.
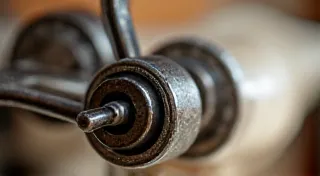
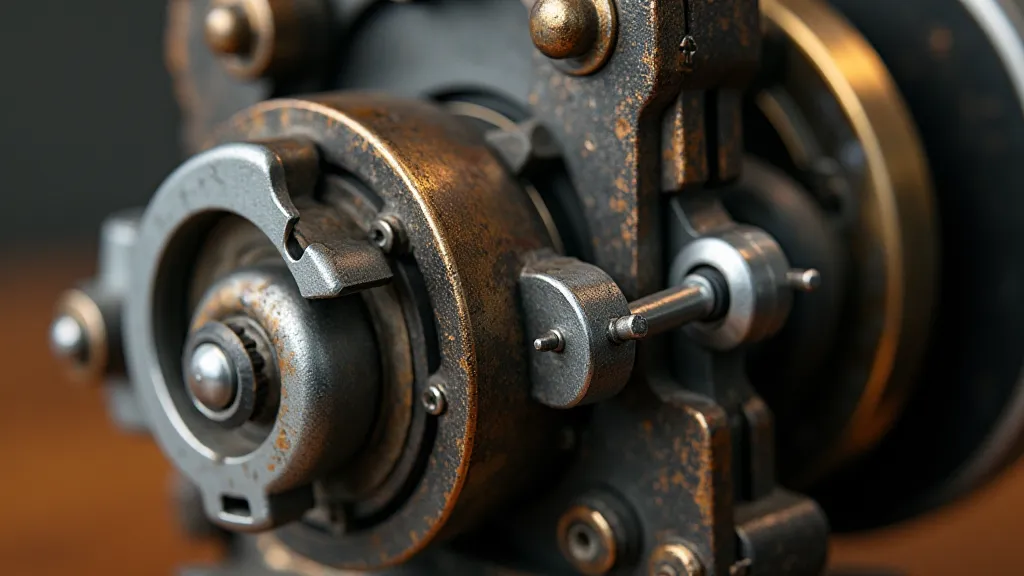
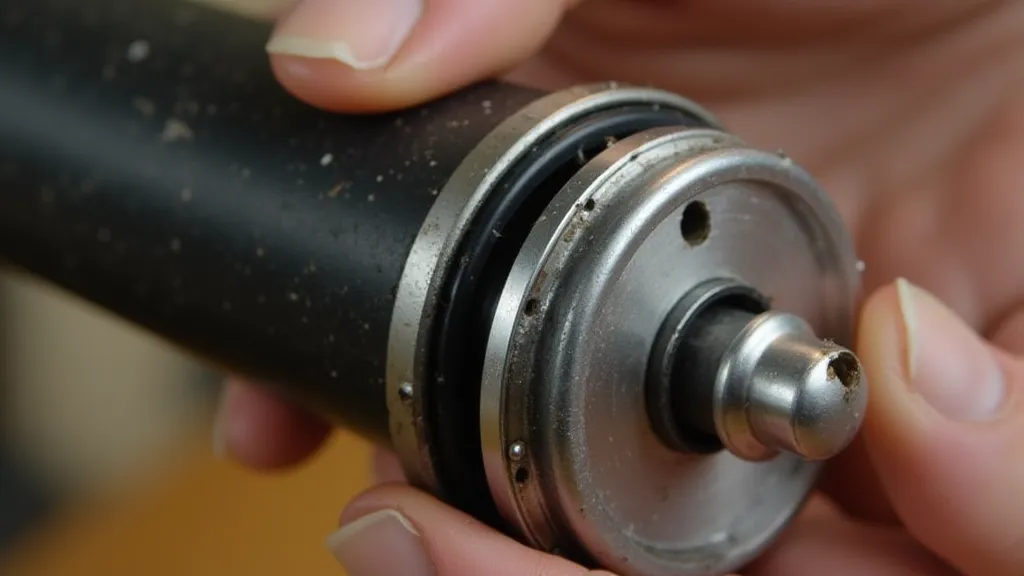
- Bearing Friction: Worn bearings can create significant friction, slowing down the motor. Lubricate or replace the bearings.
3. Motor Makes Unusual Noises
- Bearing Noise: Grinding or rumbling noises often indicate worn bearings. Replace the bearings.
- Brush Arcing (Brushed Motors): Sparking or crackling noises coming from the brushes often indicate worn brushes or a dirty commutator.
- Internal Damage: Loud banging or clunking noises could indicate more serious internal damage. In this case, motor replacement might be the best option.
Motor Replacement
While repair is often possible, sometimes motor replacement is necessary. When replacing a motor, ensure you find a compatible model. Key considerations include:
- Voltage: Match the voltage of the replacement motor to the machine’s requirements.
- Physical Dimensions: Ensure the replacement motor fits within the machine’s housing.
- Shaft Diameter & Configuration: The shaft must be compatible with the machine’s handwheel or drive system.
Finding the right replacement can be tricky. Some machines benefit from a different type of motor altogether, but it's imperative to understand the electrical and mechanical implications of such a change. The machine’s serial number is often a vital clue to this process. Understanding understanding sewing machine serial numbers can greatly aid in determining compatible parts, including motors. Beyond simply finding a motor of the correct voltage, careful consideration needs to be given to the overall system compatibility. The interplay between the motor, handwheel, and belt is vital for proper functionality, and any mismatch can lead to performance issues or even damage.
Safety Note: Working with electricity can be dangerous. If you are not comfortable with electrical repairs, seek professional assistance.
Preventative Maintenance
Regular maintenance can extend the life of your sewing machine motor:
- Lubrication: Lubricate the motor bearings periodically. This also applies to other components, helping prevent rust and corrosion. For more extensive rust removal, see Dealing with Rust on Vintage Sewing Machines: Prevention & Removal. Addressing rust issues promptly prevents further deterioration of not only the motor but also the surrounding components and structural integrity of the sewing machine.
- Cleaning: Keep the motor clean and free of dust and debris. Accumulated dust can insulate the motor, hindering its ability to dissipate heat and potentially leading to overheating and reduced lifespan.
- Brush Inspection (Brushed Motors): Inspect brushes regularly and replace them as needed. This proactive step prevents unexpected motor failure and minimizes downtime.
Beyond these basic steps, maintaining the overall alignment and stability of your machine is essential. Even slight imbalances can exacerbate motor wear and tear. If the needle bar is causing unusual vibrations or problems, addressing Understanding and Fixing Needle Bar Instability can improve the motor's performance and extend its lifespan. This is particularly important with vintage machines, where tolerances may be looser than modern designs.
Vintage sewing machines are complex mechanisms, and diagnosing and resolving issues often requires a combination of mechanical and electrical expertise. This guide provides a foundational understanding of motor repair and maintenance, but further research and experimentation may be necessary to achieve optimal results. Remember to always prioritize safety and seek professional assistance when needed.
Consider also the effect of humidity and environmental factors on the motor's components. Regular cleaning and lubrication can help mitigate these effects, ensuring smooth and reliable operation. Don't hesitate to consult online forums and communities dedicated to vintage sewing machines; these resources often provide valuable insights and troubleshooting tips from experienced enthusiasts. Some experienced hobbyists even rebuild entire motors, taking them apart, cleaning each component, and reassembling them with new bearings and brushes. This level of restoration requires specialized tools and expertise, but it can effectively breathe new life into a vintage machine.
The longevity of your sewing machine motor is intrinsically linked to the condition of its surrounding components. For example, a worn-out drive belt or a malfunctioning handwheel can place undue stress on the motor, accelerating wear and tear. A properly adjusted tension on the belt is vital to ensure smooth operation and prevents the motor from working harder than necessary. Proper alignment of the motor and handwheel is also critical to prevent vibrations and reduce the likelihood of damage. Furthermore, consistently clean and well-oiled bearings and a properly adjusted tensioning system will prevent excessive friction and maintain the motor’s efficient operation. By addressing even seemingly minor issues proactively, you can maximize the lifespan of your machine and enjoy years of reliable sewing.
Understanding the specific type of motor in your machine is also crucial. Different motor designs have different maintenance requirements and potential failure points. For example, a shaded-pole motor, commonly found in older machines, may require different troubleshooting steps compared to a capacitor-start motor. Knowing the motor’s electrical characteristics and its specific design can help you identify potential problems more accurately and implement effective repair strategies. Furthermore, some motors are known to be particularly sensitive to certain environmental conditions, such as humidity or temperature fluctuations. Being aware of these sensitivities and taking appropriate preventative measures can help you extend the motor’s lifespan and minimize the risk of failure.
Finally, always remember to document your repair process. Keeping a detailed record of the steps you took, the parts you replaced, and any adjustments you made can be invaluable for future maintenance and troubleshooting. This documentation can also be shared with other enthusiasts, contributing to the collective knowledge and expertise within the vintage sewing machine community. By embracing a proactive and collaborative approach to maintenance and repair, you can ensure that these remarkable machines continue to inspire creativity and craftsmanship for generations to come.