Dealing with Rust on Vintage Sewing Machines: Prevention & Removal
Rust is the nemesis of any vintage sewing machine enthusiast. The beautiful patina and history inherent in these machines are often marred by the unsightly and damaging effects of oxidation. This article will guide you through understanding rust, safe removal techniques, and crucially, preventative measures to keep your prized possessions in top condition. Owning a vintage machine is a labor of love, and keeping it running smoothly requires consistent care and attention to detail.
Understanding the Enemy: What Causes Rust?
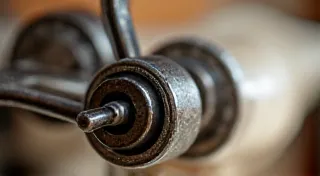
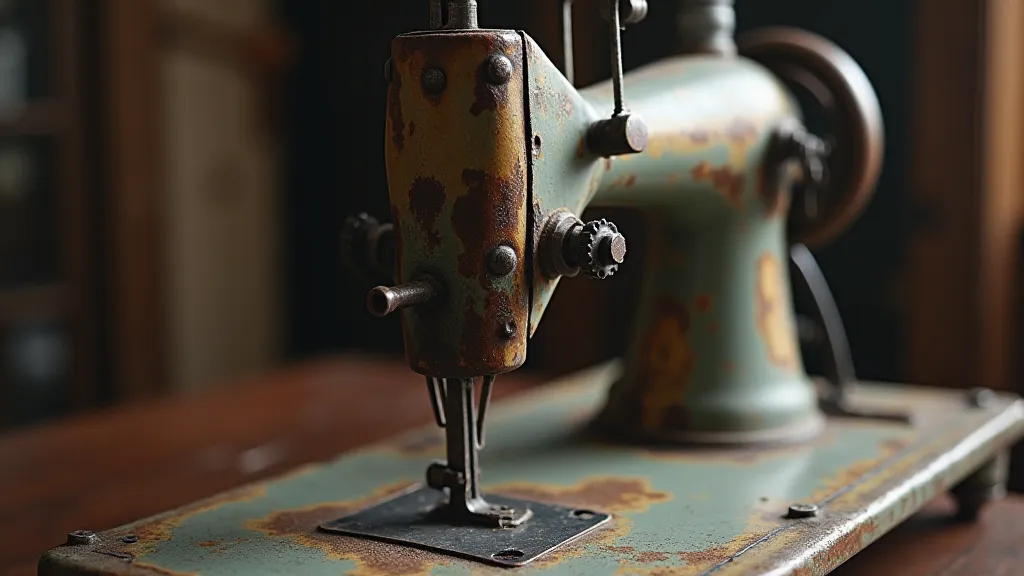
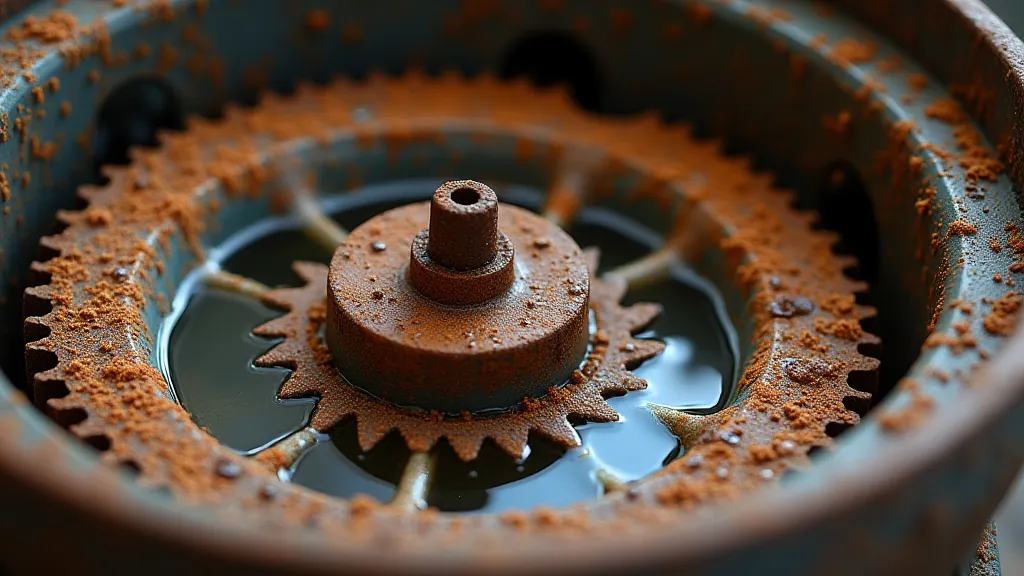
Rust, chemically known as iron oxide, forms when iron (the primary metal in most vintage sewing machines) reacts with oxygen in the presence of moisture. Several factors contribute to its formation:
- Humidity: High humidity environments accelerate the rusting process.
- Moisture: Direct exposure to water, even briefly, can start the reaction. Even seemingly minor leaks can contribute to this.
- Lack of Lubrication: Lubricating oil creates a protective barrier, preventing moisture from reaching the metal. A well-lubricated machine is far less likely to succumb to rust. For comprehensive guidance on this essential maintenance task, see our article on Cleaning and Lubricating Your Vintage Sewing Machine.
- Storage Conditions: Improper storage, like damp basements or attics, is a breeding ground for rust.
Safe Rust Removal Techniques
Before you start, it’s essential to remember these points:
- Test First: Always test any cleaning method on a small, inconspicuous area of the machine. This ensures the method won’t damage the original finish or any decorative elements.
- Gentle is Key: Harsh chemicals and abrasive scrubbing can damage the original finish and delicate parts. Vintage sewing machines are often quite fragile, so a cautious approach is vital.
- Disassemble When Possible: Easier access allows for more thorough cleaning and prevents damage to surrounding components. While disassembly can seem daunting, it significantly improves the effectiveness of rust removal and cleaning. Remember to photograph each step to aid in reassembly!
Mild Rust: Gentle Cleaning Methods
For light surface rust, try these options first:
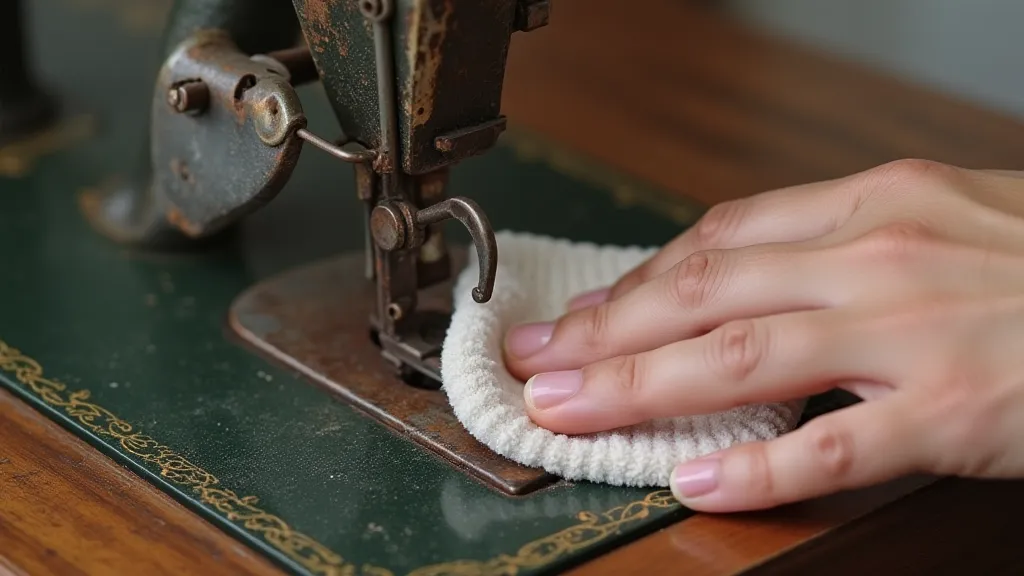
- Warm, Soapy Water: Use a mild dish soap and a soft brush. Rinse thoroughly and dry immediately. Ensure all soapy residue is removed.
- White Vinegar: Soak a cloth in white vinegar and gently wipe the rusted area. Rinse well and dry. Vinegar is a mild acid that can dissolve rust. Be mindful of painted surfaces, as vinegar can potentially affect them.
- Baking Soda Paste: Mix baking soda with water to form a paste. Apply to the rust, let it sit for a while, then scrub gently with a soft brush. Baking soda provides a mild abrasive action while being relatively gentle.
- Citrus-Based Cleaners: Some citrus-based cleaners are effective at removing rust, but always test first, as they can potentially affect paint or finishes. Look for cleaners specifically designed for delicate surfaces.
Moderate to Severe Rust: Rust Conversion & More Aggressive Methods
When dealing with thicker, more stubborn rust:
- Rust Converter Products: These products chemically convert rust into a stable, black coating. They offer a protective layer and can be painted over. Follow product instructions carefully! These products are particularly useful for components that are difficult to fully remove or soak.
- Evaporust: Evaporust is a popular rust remover that’s safer than many acids. Submerge the affected parts in Evaporust (or apply with a cloth) and allow sufficient time for reaction. Always ensure adequate ventilation when using rust removers.
- Mechanical Removal (Use with Extreme Caution): Tools like fine wire brushes (mounted on a drill or by hand) or abrasive pads can be used, but only if you are comfortable and experienced. These methods can easily remove paint and alter the original finish. When dealing with delicate levers or gears, this method can be especially risky. If you're unsure, consider seeking professional assistance. If you encounter issues like a stiff handwheel, addressing the problem through careful disassembly and cleaning is critical – for a detailed guide, see Repairing a Broken Handwheel: Techniques & Solutions.
Prevention is Better Than Cure: Keeping Rust at Bay
Preventing rust is far easier than removing it. Here’s how to protect your vintage sewing machines:
- Clean Regularly: Remove dust and debris that can trap moisture. Pay particular attention to areas where the machine is likely to accumulate dust, such as around the bobbin case and feed dogs.
- Lubricate Frequently: Apply sewing machine oil to all moving parts. Use a high-quality oil specifically designed for sewing machines. The frequency of lubrication depends on usage and environmental conditions.
- Store Properly: Store machines in a dry, well-ventilated area. Use desiccant packs to absorb moisture. Consider using a machine cover to protect against dust and moisture.
- Apply Protective Coatings: Consider applying a thin layer of wax or oil to the metal surfaces. This creates a barrier against moisture and oxygen.
- Addressing Leaks: Fix any oil leaks promptly, as these create a moist environment that promotes rust. Even a small leak can contribute significantly to rust formation over time.
- Consistent Maintenance: Regularly inspect your machine for signs of rust or wear. Early detection allows for prompt intervention and prevents minor issues from escalating into major problems. Knowing how to source vintage parts when replacements are needed is also crucial – for helpful tips, explore Sourcing Vintage Sewing Machine Parts: A Beginner's Guide to Finding What You Need.
Understanding Different Rust Types & Their Removal
The approach to rust removal often depends on the type and severity of the corrosion. Surface rust, which appears as a light orange dusting, is typically the easiest to address. However, 'flash rust,' a temporary discoloration caused by humidity, might disappear with a quick cleaning and lubrication. Pitting rust, characterized by small holes in the metal, requires more aggressive treatment. In cases of severe rust, where the metal has significantly deteriorated, professional restoration might be the best option to preserve the machine’s integrity. Before attempting any rust removal method, carefully assess the extent of the corrosion and select the appropriate technique. Recognizing the difference between flash rust and pitting rust can save you valuable time and effort.
Safety Precautions & Environmental Considerations
When dealing with rust removal, safety should be a top priority. Always wear appropriate protective gear, including gloves, eye protection, and a respirator when using chemical rust removers. Ensure adequate ventilation to avoid inhaling harmful fumes. Dispose of used chemicals and contaminated materials responsibly, following local environmental regulations. Consider using environmentally friendly rust removal products whenever possible to minimize the impact on the environment. Remember to always prioritize your health and the well-being of the planet.
Conclusion
Dealing with rust on vintage sewing machines requires patience, care, and the right techniques. By understanding the causes of rust, employing safe removal methods, and implementing preventative measures, you can ensure your vintage sewing machines remain treasured possessions for years to come. Remember to always prioritize gentle methods and prioritize preservation over aggressive cleaning. With consistent care and attention, these beautiful machines can continue to stitch their way through generations.