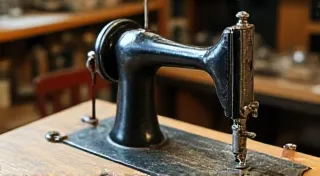
Cleaning and Lubricating Your Vintage Sewing Machine
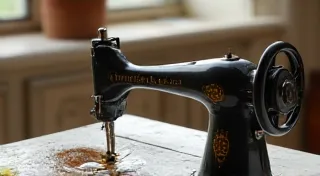
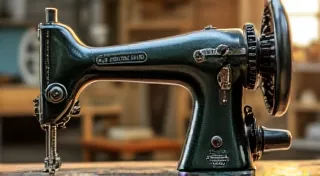
Vintage sewing machines are beautiful pieces of history, and with proper care, they can provide decades of reliable service. Regular cleaning and lubrication are absolutely essential to keeping your machine running smoothly and preventing costly repairs. This guide will walk you through the process, providing essential tips for maintaining your cherished vintage machine.
Why Clean and Lubricate?
Over time, dust, lint, and old, dried grease can build up inside your sewing machine. This buildup creates friction, hinders movement, and can lead to corrosion. Neglecting these issues can cause stitch irregularities, increased wear and tear, and ultimately, complete machine failure. Regular cleaning and lubrication help to:
- Reduce friction and wear
- Prevent corrosion
- Ensure smooth operation
- Extend the life of your machine
Gather Your Supplies
Before you begin, gather the following:
- Soft brushes (various sizes, including a small detail brush)
- Lint-free cloths (microfiber is excellent)
- Seam ripper or small screwdriver (for removing stubborn lint)
- Sewing machine oil (specifically designed for sewing machines – do not use household oils like WD-40!)
- Cotton swabs
- Clean, empty container for collecting debris
Cleaning Procedures
Here’s a breakdown of how to clean your vintage sewing machine:
1. Exterior Cleaning
Start with the exterior. Wipe down the machine's cabinet and body with a soft cloth. For stubborn grime, you can use a mild detergent solution, but be sure to rinse and dry thoroughly. Avoid getting water inside the machine. Remember, preserving the original finish on your vintage machine is key to maintaining its value and aesthetic appeal. If you're considering more extensive restoration, you might find helpful techniques in our article on Recovering the Machine’s Original Finish.
2. Needle Area
This area accumulates a lot of lint and thread debris. Carefully remove any thread remnants and lint using a brush and seam ripper. Pay close attention to the bobbin area and the feed dogs.
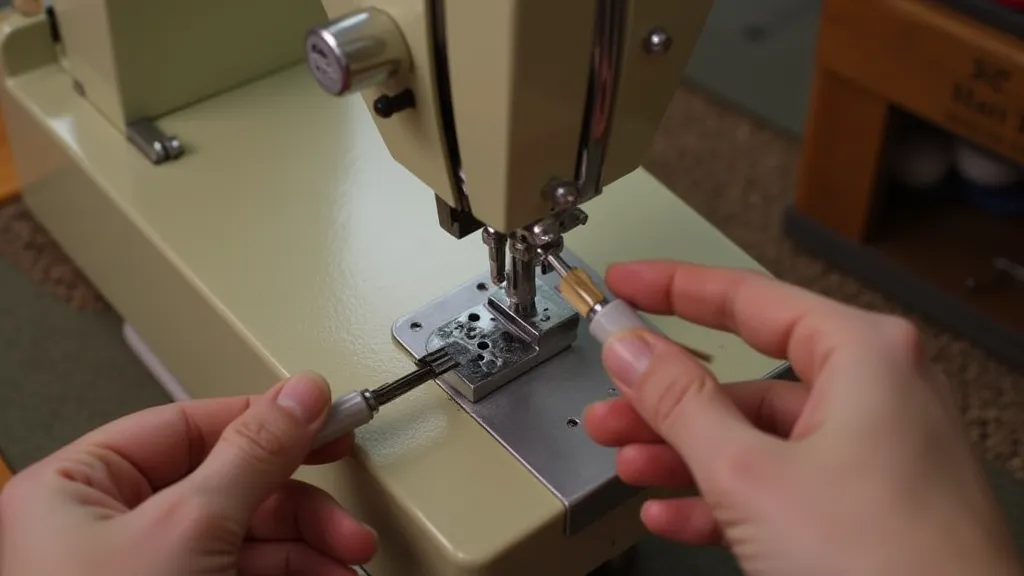
3. Bobbin Area
The bobbin area is a breeding ground for lint. Remove the bobbin and bobbin case. Use a small brush and seam ripper to meticulously clean out any debris. A gentle puff of compressed air (used carefully!) can also be helpful. Sometimes, the spring on the bobbin case can become worn or damaged, which impacts performance. For many users, this is a surprisingly common issue that can significantly impact sewing quality. For guidance on this common issue, see our practical guide on Replacing the Bobbin Case Spring: A Practical Guide. Addressing a faulty bobbin case spring is often the first step to restoring smooth, reliable operation.
4. Feed Dogs
The feed dogs are responsible for moving the fabric through the machine. Clean them thoroughly to ensure proper fabric feed. Use a small brush and seam ripper to remove any built-up lint or thread. Irregular feed can sometimes be attributed to other issues, such as incorrect presser foot pressure. Maintaining consistent fabric feed is crucial for professional-looking results.
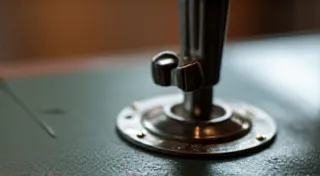
5. Hook and Race (if applicable)
On machines with a rotating hook, the hook and race need cleaning. Use a brush and small pick to remove any lint and debris. Be very careful not to scratch the surfaces.
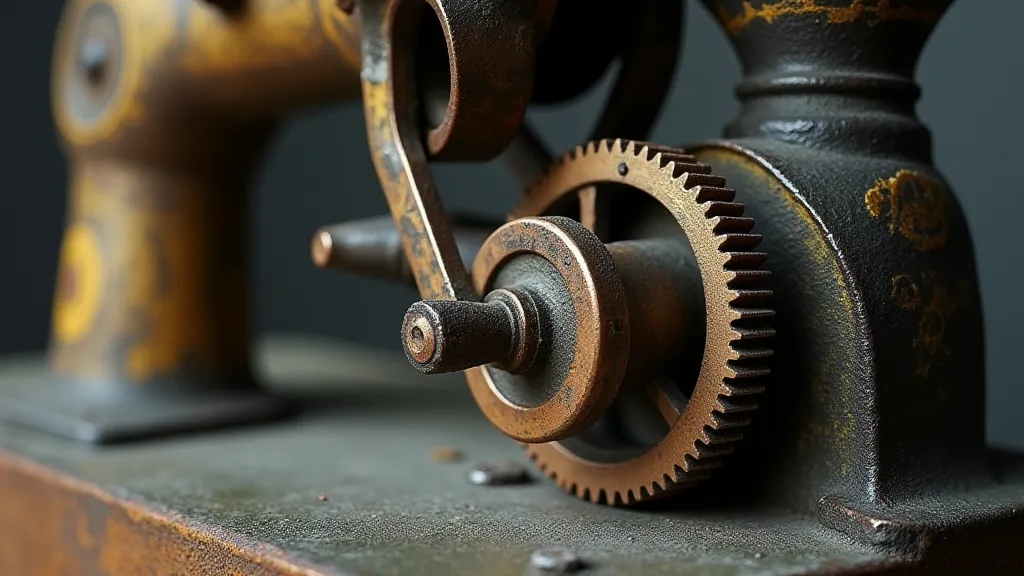
Lubrication
Once your machine is clean, it's time to lubricate it. Proper lubrication is just as important as cleaning. Many users find that regular lubrication is almost as important as keeping the machine physically clean, as friction can quickly lead to wear and tear.
Identifying Lubrication Points
Consult your machine's manual if available, as it will specify the lubrication points. If you don't have the manual, generally look for these areas:
- Moving parts (gears, levers, etc.)
- Pivot points
- Needle bar
- Hook race
- Bobbin winder
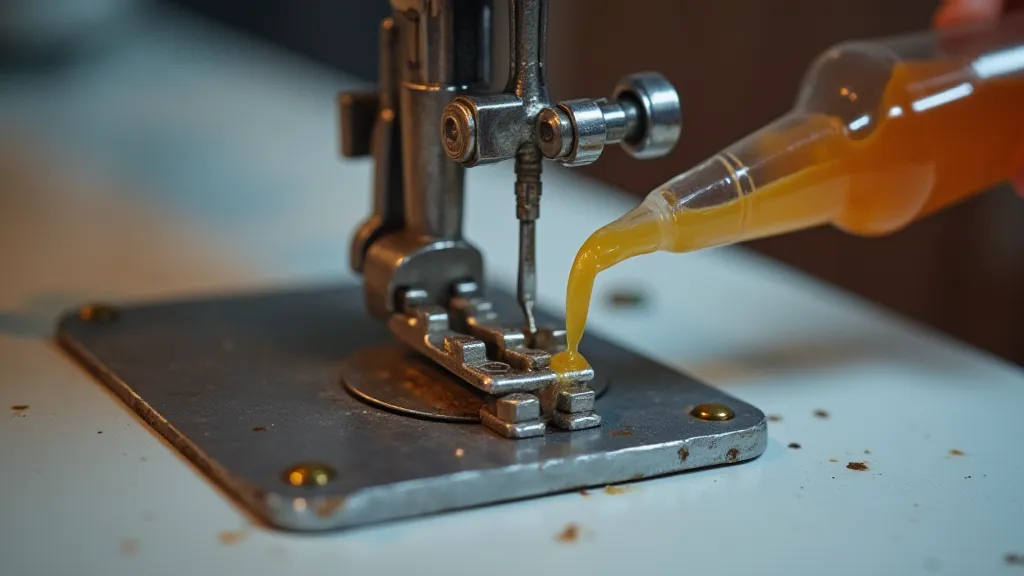
Applying Lubricant
Apply a very small amount of sewing machine oil to each lubrication point. A tiny drop is all that's needed. Avoid over-oiling, as this can attract dirt and create a sticky mess. Use a cotton swab for precise application. A little goes a long way; over-oiling can actually cause more problems than it solves by attracting dust and creating a sticky residue.
First Run
After cleaning and lubricating, run the machine at slow speed for a few minutes. This helps to distribute the oil and identify any areas that might need further attention. Sometimes, a noisy or jerky operation following cleaning and lubrication can be due to uneven pressure from the presser foot. It's worthwhile checking and adjusting the presser foot pressure to optimize performance, as detailed in our Adjusting the Presser Foot Pressure: A Troubleshooting Guide. Proper presser foot pressure is fundamental to consistent stitch quality and reduces fabric handling issues.
Dealing with Rust and Corrosion
Vintage sewing machines are susceptible to rust, especially if stored improperly. Regular cleaning and lubrication help prevent rust, but if you encounter it, immediate action is essential. Our article on Dealing with Rust on Vintage Sewing Machines: Prevention & Removal provides a comprehensive guide to removing existing rust and preventing future occurrences. Early intervention with rust treatment is vital for preserving the machine’s value and functionality.
Maintenance Frequency
The frequency of cleaning and lubrication depends on how often you use your machine. As a general guideline:
- Light use (a few times a month): Clean and lubricate every 4-6 months.
- Moderate use (several times a week): Clean and lubricate every 2-3 months.
- Heavy use (daily): Clean and lubricate monthly.

Beyond regular cleaning and lubrication, understanding your machine's components and potential issues is critical for long-term preservation. Many users new to vintage machines find the learning curve a little steep initially, but with patience and regular maintenance, these machines can provide a lifetime of sewing pleasure. Consistent lubrication, for instance, is a proactive way to mitigate wear and tear. Furthermore, knowing how to adjust the presser foot pressure can address common feeding problems, ensuring professional-quality results. It's crucial to remember that vintage machines, while robust, require a bit more attention than their modern counterparts. Proper care extends their lifespan and ensures they remain treasured heirlooms.
By following these simple steps, you can keep your vintage sewing machine running smoothly for years to come. Enjoy the satisfaction of restoring and preserving these beautiful pieces of history! Don’t hesitate to delve deeper into specific maintenance tasks as needed. These machines are lasting investments, and with consistent care, they’re sure to provide years, even decades, of satisfying operation.