Troubleshooting Tension Issues - A Comprehensive Guide
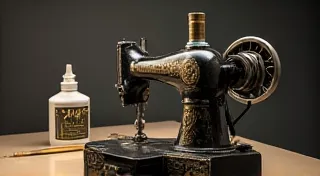
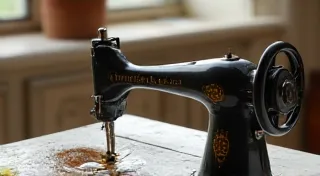
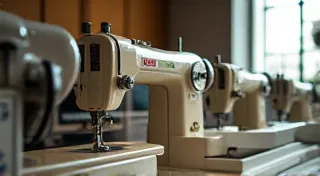
Tension problems are arguably the most frequent headaches faced by those restoring and repairing vintage sewing machines. A properly balanced tension is critical for a smooth, even stitch – too loose, and your seams will be sloppy and weak; too tight, and you risk broken threads and damaged needles. This guide explores common tension issues on vintage sewing machines, covering adjustments, potential parts replacement, and root causes.
Understanding Tension Basics
Vintage sewing machines typically have two main tension dials – one for the upper thread and one for the lower bobbin thread. These dials control the clamping pressure on each thread, influencing how tightly they intertwine to form the stitch. Most machines have a fairly straightforward system; however, age, wear, and improper adjustments can all contribute to problems.
Common Tension Problems and Solutions
1. Upper Thread Tension Too Loose
Symptoms: Loopy stitches on the *top* of the fabric. The upper thread appears slack as it passes through the machine.
Possible Causes & Solutions:
- Incorrect Dial Setting: Start by simply adjusting the upper tension dial to a slightly higher number.
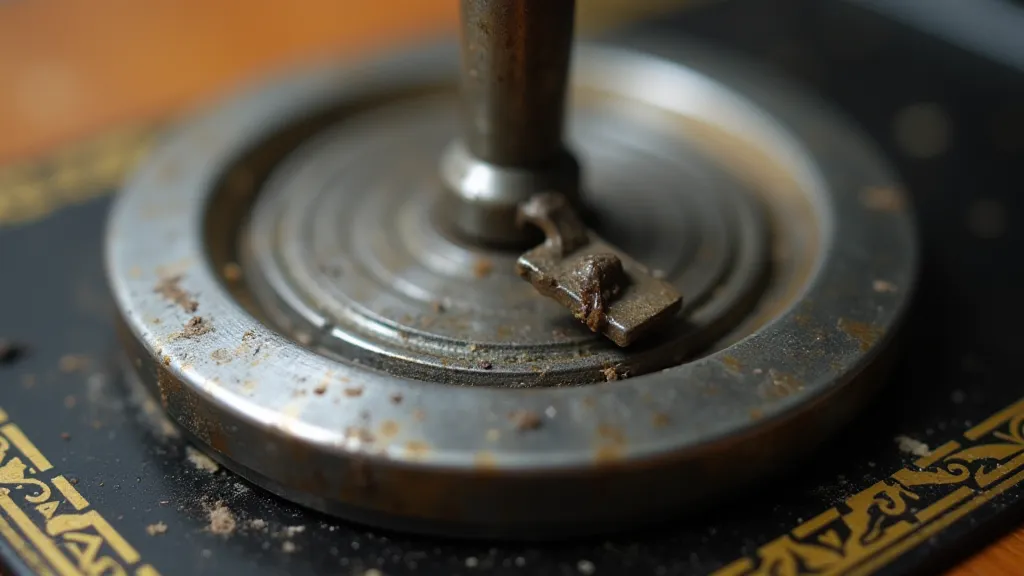
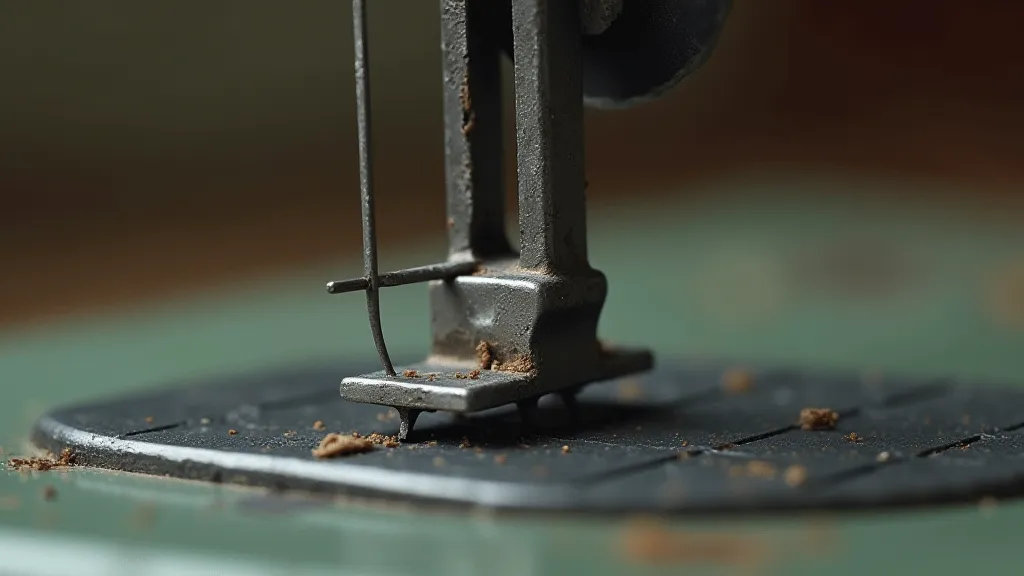
- Thread Path Obstruction: Check for lint or debris obstructing the thread path, particularly around the thread guides and tension discs. A thorough cleaning is often the simplest solution.
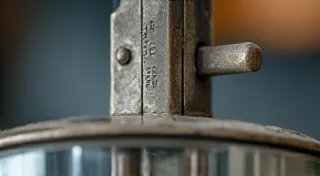
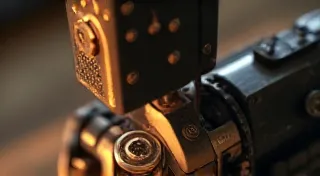
- Worn Tension Discs: Over time, the rubber or metal discs that apply tension to the upper thread can wear out, losing their ability to apply consistent pressure. Replacement is often necessary.
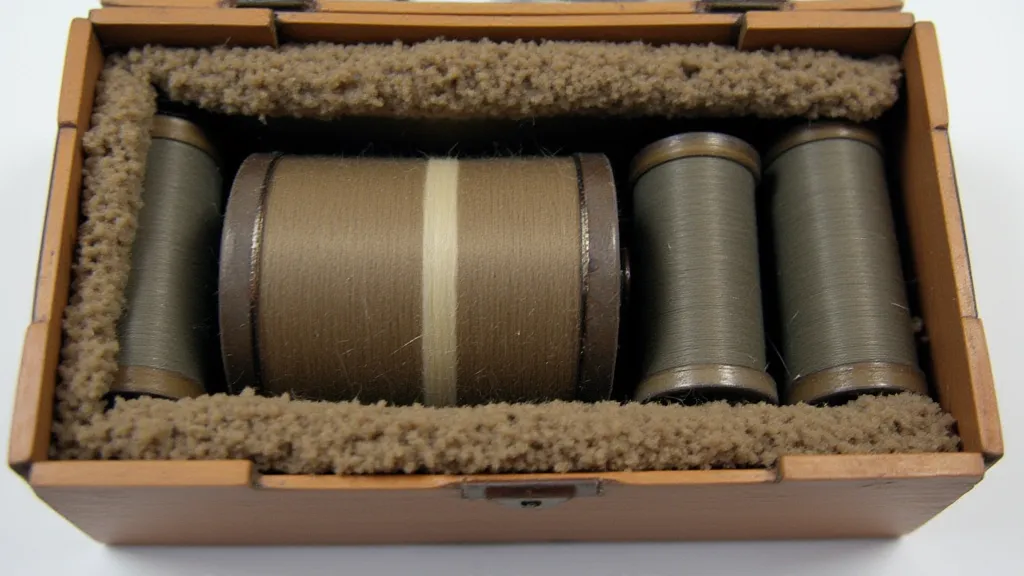
- Incorrect Thread Type: Ensure you are using a thread type appropriate for your machine and the fabric you are sewing.
2. Upper Thread Tension Too Tight
Symptoms: Loopy stitches on the *bottom* of the fabric. The upper thread might seem brittle and difficult to pull.
Possible Causes & Solutions:
- Incorrect Dial Setting: Reduce the upper tension dial setting.
- Debris in the Tension Path: As with loose tension, lint and debris can significantly affect tension, but now causing it to be too tight.
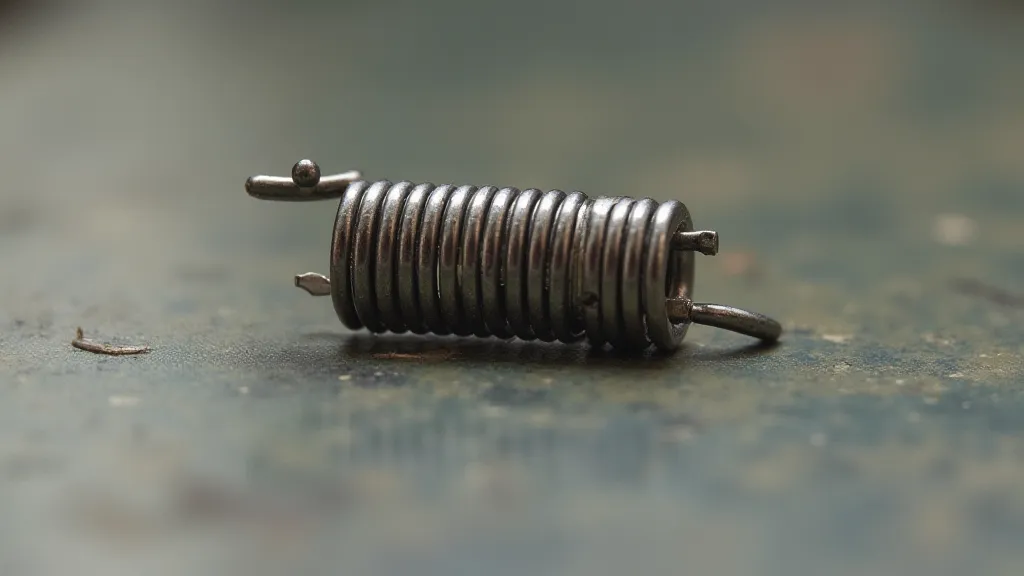
- Damaged Tension Spring: The spring that applies pressure against the tension discs can weaken or become damaged. The proper pressure and interaction of these components can be complex, affecting stitch quality significantly. Issues like this can sometimes be indirectly related to the presser foot pressure, making it important to consider all factors contributing to consistent stitching.
3. Bobbin Thread Tension Too Loose
Symptoms: Bird's nests of thread appearing under the fabric, often with a large knot of thread. The bobbin thread seems to be pulling freely.
Possible Causes & Solutions:
- Incorrect Dial Setting: Adjust the bobbin tension dial to a slightly higher number. *Be very cautious adjusting bobbin tension!* Small adjustments are key.
- Incorrect Bobbin Type: Using the wrong size or type of bobbin can cause tension issues. Consult your machine's manual.
- Dirty Bobbin Case: Lint and debris can clog the bobbin case, hindering the smooth release of thread.
4. Bobbin Thread Tension Too Tight
Symptoms: The needle might be difficult to pull through the fabric, and the bobbin case might feel stiff. The machine might make a straining noise.
Possible Causes & Solutions:
- Incorrect Dial Setting: Reduce the bobbin tension dial setting. *Again, make very small adjustments!*
- Damaged Bobbin Case Spring: Similar to the upper tension spring, the bobbin case spring can weaken.
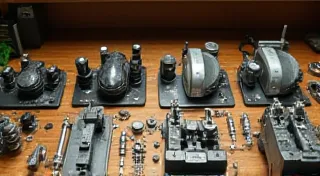
Parts Replacement and Sourcing
Often, tension problems necessitate parts replacement. Common parts to look for include:
- Upper Tension Discs
- Bobbin Tension Discs
- Tension Springs (upper and bobbin case)
- Bobbin Cases
- Needles (a dull or bent needle can mimic tension problems)
Sourcing these parts can be challenging. Look for:
- Specialized vintage sewing machine parts suppliers
- Online auction sites
- Sewing machine repair shops
The history of vintage sewing machines is fascinating; for example, the Singer 201 evolution has a rich evolution marked by continuous improvements and adaptations. Understanding this history can sometimes offer insights into the design and function of specific components, including tension mechanisms.
Advanced Troubleshooting and Considerations
Beyond the common issues and fixes, certain scenarios demand more in-depth investigation. For instance, if your machine is exhibiting unusual motor behavior alongside tension problems, it’s vital to rule out electrical issues. Similarly, a machine that’s been heavily used or stored improperly can develop a range of complications. Disassembling and meticulously cleaning the tension assembly is often the first step towards a complete diagnosis. Use appropriate lubricants on moving parts to ensure smooth operation and prevent premature wear.
Furthermore, when dealing with older machines, it's crucial to recognize that their tolerances were different from those of modern machines. This means that what might seem like an obvious problem might actually be a characteristic of the machine's design. It’s also worth noting that restoring a vintage machine can be a project of significant historical importance, allowing us to preserve a piece of mechanical history. A machine’s overall functionality is also often tied to how it's powered. Consider, for instance, the possibilities of transforming an electric machine into a more traditional setup - a project which involves a great deal of mechanical understanding.
The Importance of Needles and Thread
The seemingly simple act of choosing a needle and thread can have a profound impact on stitch quality. Using the wrong type of needle can cause all sorts of issues, from skipped stitches to thread breakage. Similarly, using a thread that's too thick or too thin for the fabric can lead to tension problems. Always consult your machine's manual for recommended needle and thread sizes. When in doubt, err on the side of caution and choose a finer needle and thread. Remember that even a slight variation in needle size can noticeably affect stitch quality.
Maintaining Your Vintage Sewing Machine
Regular maintenance is the key to preventing tension problems and extending the life of your vintage sewing machine. This includes:
- Cleaning the machine regularly to remove lint and debris.
- Lubricating the moving parts to ensure smooth operation.
- Inspecting the tension assembly for signs of wear and tear.
- Replacing worn or damaged parts promptly.
For enthusiasts seeking to explore unconventional power setups, converting an electric machine is a rewarding endeavor that demands an understanding of mechanical principles.
Troubleshooting tension issues on vintage sewing machines can be a rewarding, albeit sometimes frustrating, experience. With patience and a systematic approach, you can restore your machine to its former glory and enjoy years of reliable sewing. If you are dealing with a particularly stubborn issue, understanding the nuances of Singer 201 evolution models can provide unique insights due to their intricate mechanisms.