Adjusting the Presser Foot Pressure: A Troubleshooting Guide
One of the most common issues encountered when using vintage sewing machines – particularly when working with different fabric types or thicknesses – is incorrect presser foot pressure. Too much pressure can cause skipped stitches, fabric puckering, or even broken needles. Too little, and the fabric won't feed properly, leading to loose stitches and a generally messy result. This guide will walk you through understanding presser foot pressure and how to adjust it on various vintage sewing machine models.
Understanding Presser Foot Pressure
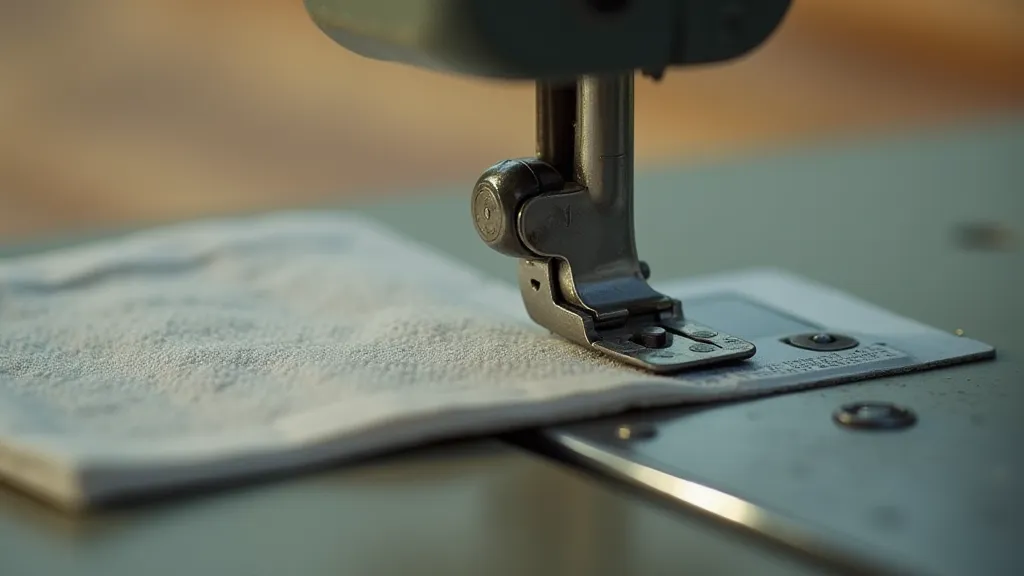
Presser foot pressure refers to the force with which the presser foot presses the fabric against the feed dogs. Proper pressure allows the feed dogs to grip the fabric and move it evenly through the machine, creating consistent stitches. The optimal pressure isn’s a one-size-fits-all value; it depends heavily on the fabric you’re using.
Heavy fabrics like denim or upholstery material require more pressure, while delicate fabrics like silk or chiffon need significantly less. The type of needle you’re using also plays a role. A universal needle generally works best with moderate pressure, while specialty needles (like those designed for denim) might necessitate adjustments.
Common Adjustment Mechanisms
Vintage sewing machines employed a variety of methods for adjusting presser foot pressure. Here’s a breakdown of the most common types you’re likely to encounter:
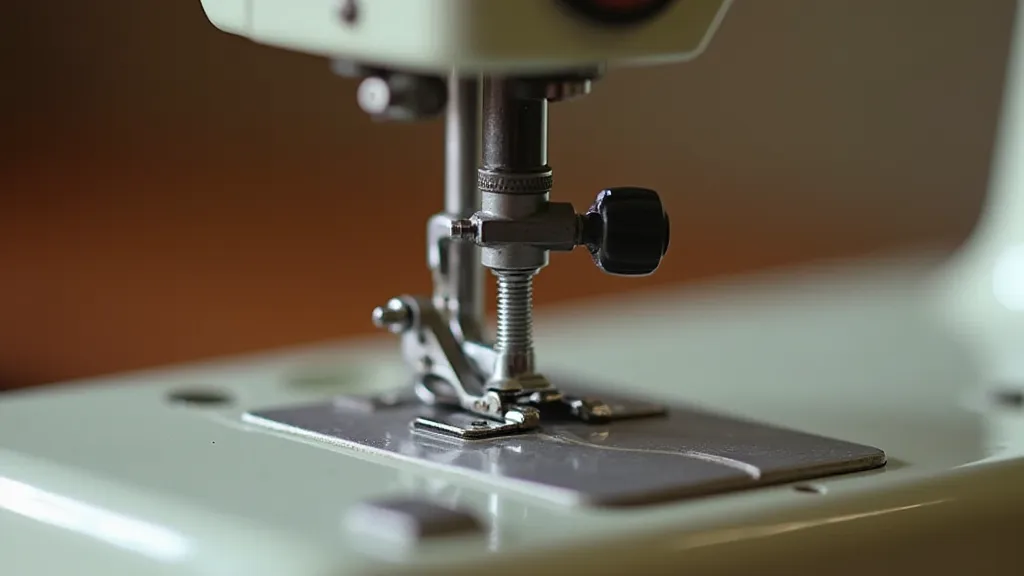
1. Screw Adjustment (Most Common)
This is the most prevalent method. Typically, you'll find a small screw located on the presser foot arm, near the presser foot lever. Turning this screw clockwise increases the pressure; counterclockwise decreases it.
How to Adjust: Start with the screw in a mid-point position. Sew a few stitches on a piece of scrap fabric that’s representative of what you’re working with. Observe the stitch quality and fabric feeding. Adjust the screw a tiny bit at a time – small adjustments make a big difference! Repeat until you achieve a smooth, even feed and a well-formed stitch.
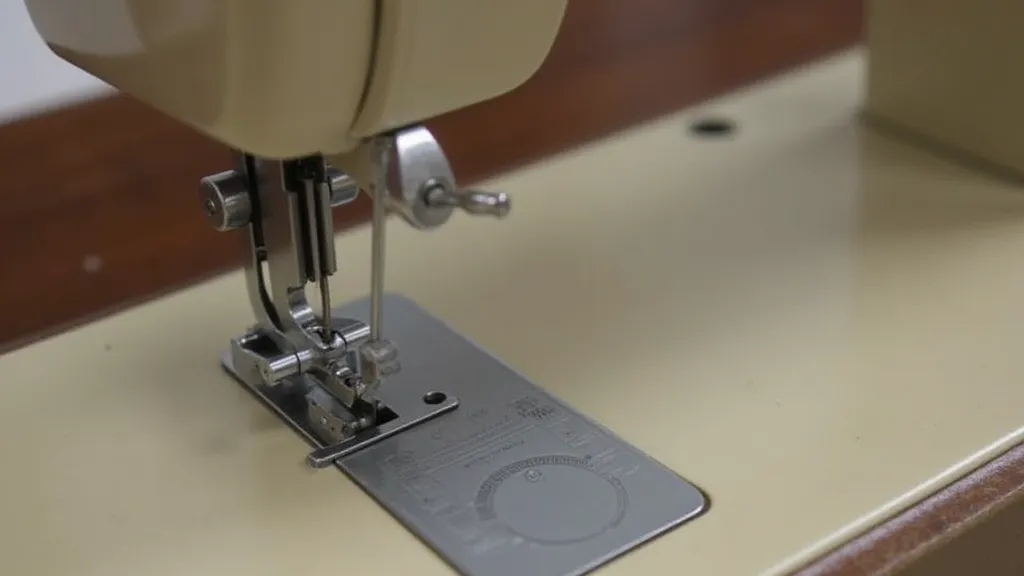
2. Lever Adjustment
Some older machines use a lever mechanism. The lever might be directly connected to the presser foot arm or located elsewhere on the machine. Moving the lever in one direction increases pressure, while the other decreases it.
How to Adjust: The range of adjustment on lever systems can be more limited than with screw adjustments. Experiment cautiously, testing a few stitches after each small movement of the lever.
3. Spring Tension
In rare cases, pressure adjustment might involve manipulating the tension of a spring connected to the presser foot. This is less common and often requires specialized knowledge or a service manual for your specific machine model.
Caution: Tampering with spring tension can be tricky and could potentially damage the machine. If you’re not comfortable, it's best to consult with a qualified sewing machine technician. Sometimes issues with a machine's function, even seeming as simple as presser foot pressure, can stem from other mechanical problems. For example, a sticky treadle can hinder smooth operation and lead to inconsistent results. Troubleshooting a sticky treadle is essential for ensuring your vintage machine operates as intended.
Troubleshooting Common Problems
Incorrect presser foot pressure often manifests as obvious stitching problems. Let’s explore some common issues and how they relate to pressure adjustment – and what else might be at play.
- Skipped Stitches: Often caused by too much presser foot pressure. Reduce the pressure slightly. Also, check your needle and thread. It’s important to remember that consistent stitch length is key to good results, too. Identifying and correcting incorrect stitch length is vital for avoiding these issues and maintaining a professional finish.
- Fabric Puckering: Can be a sign of too much pressure or incorrect thread tension. Try reducing the pressure and re-tensioning your thread. Puckering can also result from improperly wound bobbins or issues with the needle itself.
- Fabric Not Feeding: May indicate insufficient pressure. Increase the pressure in small increments. Check if feed dogs are engaged properly. Insufficient pressure can also be a symptom of worn feed dogs.
- Loose Stitches: Usually a result of too little pressure. Increase the pressure and make sure your needle and thread are properly matched. Check that the bobbin case is seated correctly.

Deeper Dive: Material Considerations and Needle Choice
Beyond the basic adjustments, understanding the materials you're working with is crucial. Different fabrics simply require different levels of force to feed consistently. For instance, thick, multi-layered materials like denim or upholstery fabric are demanding. You’re not only dealing with the weight and density but also the potential for multiple layers to shift and bunch. In these cases, increased presser foot pressure is almost always necessary. Conversely, delicate fabrics like silk, chiffon, or lace are easily damaged by excessive force. Too much pressure will cause puckering, distortion, and potential tearing.
The type of needle you’re using directly impacts the optimal presser foot pressure. A universal needle is a good starting point for many fabrics, but for specialized materials, a specific needle is essential. For example, when working with denim, a denim needle is designed to pierce the thick fabric without bending or breaking. Using a standard needle with a denim project often results in skipped stitches and a strained machine – frequently requiring increased presser foot pressure to compensate. However, with the correct needle, you might actually *reduce* the necessary pressure, extending the life of your machine and improving stitch quality. Choosing the right needle, alongside understanding presser foot pressure, helps you achieve flawless results.
Advanced Troubleshooting: Handwheels, Motors, and Beyond
While presser foot pressure is a vital element in achieving professional-looking results, it’s rarely the sole determinant. Often, other mechanical components contribute to, or mask, the underlying issues. For example, a stiff or malfunctioning handwheel can make it difficult to control the fabric feed, potentially leading to uneven stitches and a false impression of incorrect presser foot pressure. Consider repairing a broken handwheel to ensure smooth and consistent fabric movement. Similarly, problems with the motor, such as worn brushes in older models, can lead to inconsistent power and feeding issues. This can mimic the symptoms of presser foot pressure problems. Understanding and replacing common Singer Featherweight motor brushes is a crucial maintenance task for these machines. Other factors, such as inconsistencies in thread quality or bobbin winding, can also contribute to feeding issues, making accurate diagnosis challenging.
Specific Fabric Challenges and Solutions
Let's explore some common fabric types and the specific adjustments needed for optimal results:
- Denim: Requires significantly more presser foot pressure than lighter fabrics. A denim needle is a must. Consider using a walking foot for even better results.
- Leather/Vinyl: Similar to denim, leather and vinyl demand higher pressure and a specialized needle. A walking foot is highly recommended to prevent slippage.
- Silk/Chiffon: These delicate fabrics need minimal pressure to avoid damage. A lighter-weight presser foot can be helpful.
- Multiple Layers: When sewing multiple layers of fabric, gradually increase the presser foot pressure, testing frequently on scrap fabric.
- Stretch Fabrics (Knit): Requires careful consideration of needle type and tension. Too much pressure can cause the fabric to stretch and distort.
Preventative Maintenance for Optimal Performance
Regular maintenance extends the life of your sewing machine and ensures consistent performance. Here are some key tasks:
- Clean Regularly: Remove lint and dust from the machine's internal components.
- Oil Appropriately: Use sewing machine oil to lubricate moving parts.
- Check and Replace Needles: Dull or damaged needles can cause feeding problems.
- Inspect and Clean Feed Dogs: Burrs or buildup on the feed dogs can hinder fabric movement.
- Check Bobbin Case Alignment: A misaligned bobbin case can cause tension issues and feeding problems.
Advanced Techniques for Fine-Tuning
Once you've mastered the basics, you can explore advanced techniques for even greater control. Consider experimenting with different presser foot types, such as a walking foot, a Teflon foot, or an overlock foot. These specialized feet can provide improved grip, reduced friction, and enhanced stitch quality.
Important Considerations
Always test your adjustments on a scrap piece of fabric *identical* to what you plan to sew. Keep a record of your preferred settings for different fabric types and needle combinations. Remember that small adjustments can make a big difference, so be patient and methodical in your approach. Don’t hesitate to consult the sewing machine's manual for specific recommendations and troubleshooting tips.
By understanding the principles of presser foot pressure, choosing the right needle, and performing regular maintenance, you can unlock the full potential of your vintage sewing machine and create beautiful, professional-quality projects.