Converting an Electric Sewing Machine to Treadle Power
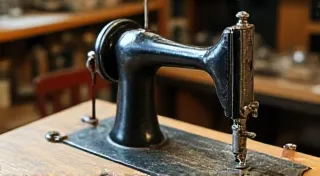
Bringing a vintage electric sewing machine back to its original, treadle-powered glory is a project that combines mechanical skill, patience, and a deep appreciation for the ingenuity of early sewing machine design. While demanding, the result is a stunningly unique and functional machine that showcases a different era of craftsmanship. This guide outlines the process, considerations, and essential parts needed for this challenging, but rewarding, conversion.
Understanding the Challenge
The primary challenge lies in reversing the motor’s function. Electric machines utilize an electric motor to rotate the handwheel, which in turn drives the sewing mechanism. A treadle machine, conversely, uses the reciprocating motion of the foot treadle to drive the handwheel. This means that the existing gears and linkages need to be re-configured, and a treadle mechanism must be constructed or adapted. This project’s complexity demands a strong foundational understanding of mechanical systems – knowledge often gained through experience with other vintage sewing machine repairs, such as troubleshooting a sticking bobbin winder. Successfully addressing such issues prepares you for the intricacies of this larger conversion.
Required Parts and Components
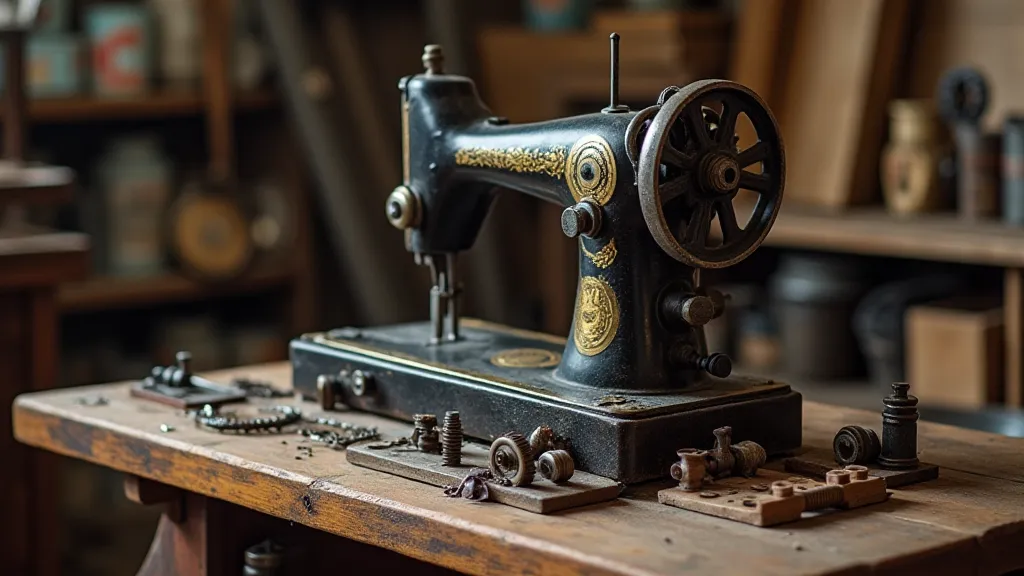
Successfully converting an electric machine to treadle power requires a selection of parts. Many of these may need to be sourced from other vintage machines or custom fabricated. The specific parts required are heavily influenced by the electric machine's original design; understanding the machine’s history and serial number is often invaluable – a skill which can be sharpened by using a sewing machine dating guide. The evolution of sewing machine design, and the specific details of early models, can offer incredible insight into how best to approach this adaptation; even seemingly minor details can drastically impact the feasibility and overall success of the project.
- Treadle Crank & Connecting Rod: This is the heart of the treadle mechanism. Ideally sourced from a comparable treadle machine, it converts the up-and-down motion of the treadle into a rotational force.
- Variable Speed Ratio Gearbox: Electric motors spin very fast. A gearbox is vital to reduce the speed of rotation to a manageable level for sewing. Finding one with variable speed is advantageous, allowing some control over the sewing speed.
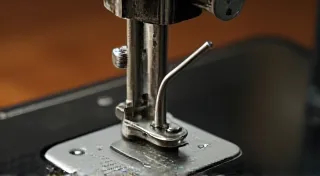
- Connecting Rods & Linkages: A series of rods and linkages will be required to connect the gearbox output shaft to the handwheel. These will likely need to be custom fabricated based on the specific machines involved.
- Treadle Base & Rocker: A solid base for the treadle mechanism is essential. A wooden base combined with a rocker arm provides the leverage needed for the treadle.
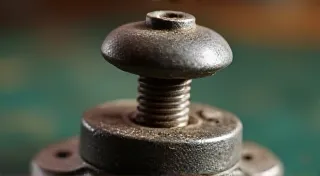
- Mounting Hardware: Various bolts, screws, and brackets will be needed to secure all components.
Construction and Mechanical Considerations
- Gearbox Integration: Securely mount the gearbox to the machine base. Precise alignment is crucial for efficient power transfer and minimal vibration. Consider the gearbox's size and how it will affect the overall footprint of the machine. The gear ratio is a critical element; improper selection can result in a frustratingly difficult pedaling experience.
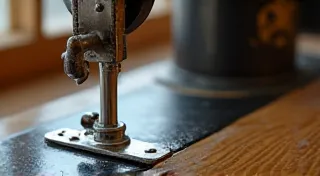
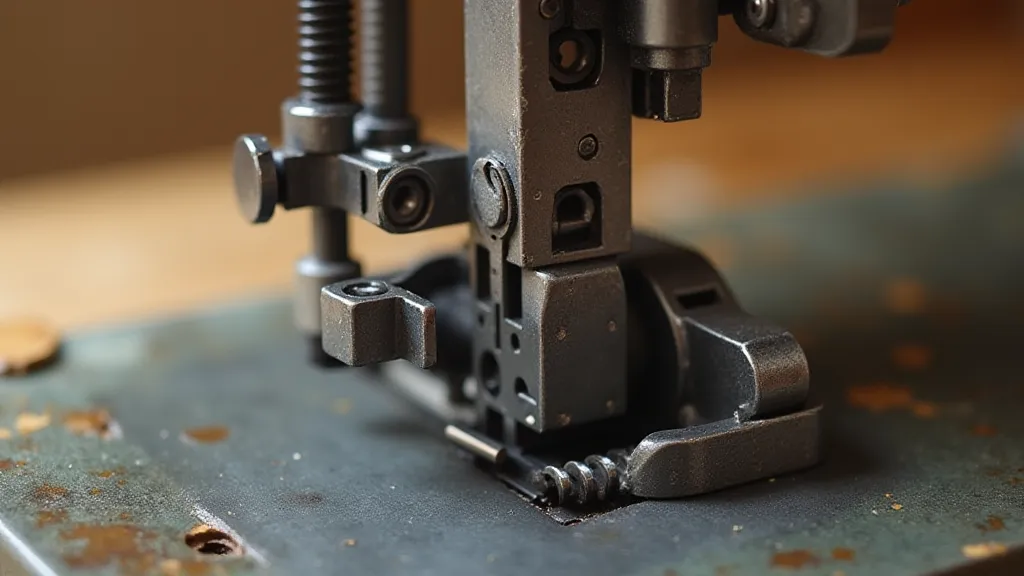
- Handwheel Connection: This is often the most challenging aspect. The connection between the gearbox output shaft and the handwheel must be robust and transmit power smoothly. Custom-made couplings or adapters may be necessary. The existing handwheel may need to be modified slightly to accommodate the new connection. Ensuring this connection is smooth also means addressing potential issues that could lead to a bobbin winder sticking, as any imbalance will be magnified through the drive train.
- Treadle Mechanism Build: Construct the treadle base and rocker assembly. The length of the rocker arm and the pivot point placement will influence the pedaling effort required. Careful thought should be given to ergonomics and user comfort.
- Linkage Design: Precisely measure and fabricate the connecting rods and linkages. These must be accurately aligned to ensure a consistent and reliable power transfer. Consider the arc of rotation and potential for binding. The strength of these linkages is paramount; they must withstand the forces generated by the pedaling action without fatigue or failure.
- Testing and Adjustment: Once the mechanism is assembled, thorough testing is essential. Carefully observe the motion, identify any binding or inefficiencies, and make adjustments as needed. This is an iterative process, requiring patience and a willingness to refine the design.
Delving Deeper: Specific Challenges and Solutions
Beyond the core components, several nuances can arise during the conversion process. The transition from electric to treadle power can significantly alter the stresses on various machine parts. For instance, the conversion might reveal that the original machine’s bobbin case spring is no longer functioning optimally due to stress during the adaptation. Correcting this, as described in a detailed guide on replacing the bobbin case spring, might be a necessary precursor to a smooth running conversion. It’s also worth considering the impact on other potentially fragile components, and planning for proactive maintenance and reinforcement where needed.
Important Considerations
- Machine Compatibility: Not all electric machines are suitable for treadle conversion. Consider the machine's size, construction, and the availability of suitable parts. Older machines often have more robust designs that lend themselves well to this type of conversion. A machine with a known history, documented via a sewing machine dating guide, can be invaluable for sourcing appropriate parts.
- Mechanical Skill: This is an advanced project requiring a strong understanding of mechanical principles and fabrication skills. Prior experience working on vintage machinery is highly recommended.
- Time Commitment: Be prepared for a lengthy process, involving research, fabrication, and meticulous adjustments. This isn't a weekend project.
- Safety: Always prioritize safety when working with machinery and tools. Wear appropriate safety gear and follow safe working practices.
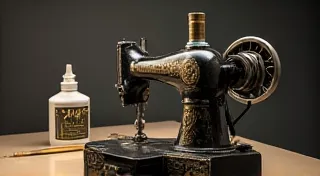
- Historical Context and Machine Design: Understanding the history of sewing machine design – particularly the evolution from treadle to electric – can provide valuable insights into the challenges and potential solutions for this conversion. The designs of early Singer Featherweight machines, for instance, hold significant historical interest. The interplay between mechanical design and the evolving needs of the garment industry is a fascinating aspect of this period.
Expanding the Project: Aesthetics and Finishing
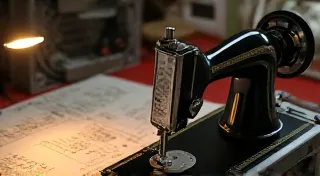
Once the mechanical aspects are complete, attention should turn to the aesthetics. Recreating the look and feel of an original treadle machine involves more than just functionality; it requires careful consideration of materials, finishes, and details. The cabinet, in particular, should be crafted to complement the machine and its historical context. Achieving a truly authentic appearance demands more than just replicating the external features; it requires an understanding of the construction techniques and materials used in the original treadle machines. This may involve researching historical woodworking practices, sourcing period-appropriate hardware, and even replicating the original paint finishes.
Conclusion
Converting an electric sewing machine to treadle power is a testament to ingenuity and a rewarding accomplishment for the skilled restorer. While challenging, the result – a beautifully restored machine powered by a traditional treadle – is a unique and captivating piece of mechanical history. It’s a project that demands respect for the past and a commitment to preserving a vital piece of industrial heritage. This conversion is not merely about restoring a machine; it's about reconnecting with the ingenuity and craftsmanship of a bygone era. The process provides a unique window into the evolution of technology and the enduring appeal of mechanical innovation.