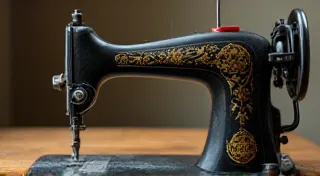
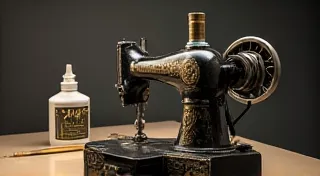
Restoring a Missing Nameplate on Your Sewing Machine
A missing or damaged nameplate significantly detracts from the aesthetic and value of a vintage sewing machine. Replacing it isn't always a daunting task. This guide will walk you through the process of finding a replacement nameplate and applying it to your machine. Many vintage machines, prized for their longevity, encounter various issues over time. Just like a missing nameplate, a tricky tension problem can quickly diminish your enjoyment. For a detailed guide to tackling those pesky tension issues, be sure to check out our comprehensive article.
1. Identifying Your Sewing Machine Model
Before you start searching for a replacement, you *must* accurately identify your sewing machine model. The nameplate itself often contains this information, but if it's gone, look for other markings on the machine, like serial numbers or manufacturer logos. Researching online forums and collector groups can also help. Understanding the machine's origins is critical to accurately sourcing a replacement nameplate and appreciating its history. Some owners even undertake ambitious projects like converting their electric machines to treadle power, a testament to their dedication and desire to revive a piece of history. For those considering such a transformation, you might find our guide on converting an electric sewing machine to treadle power of interest.
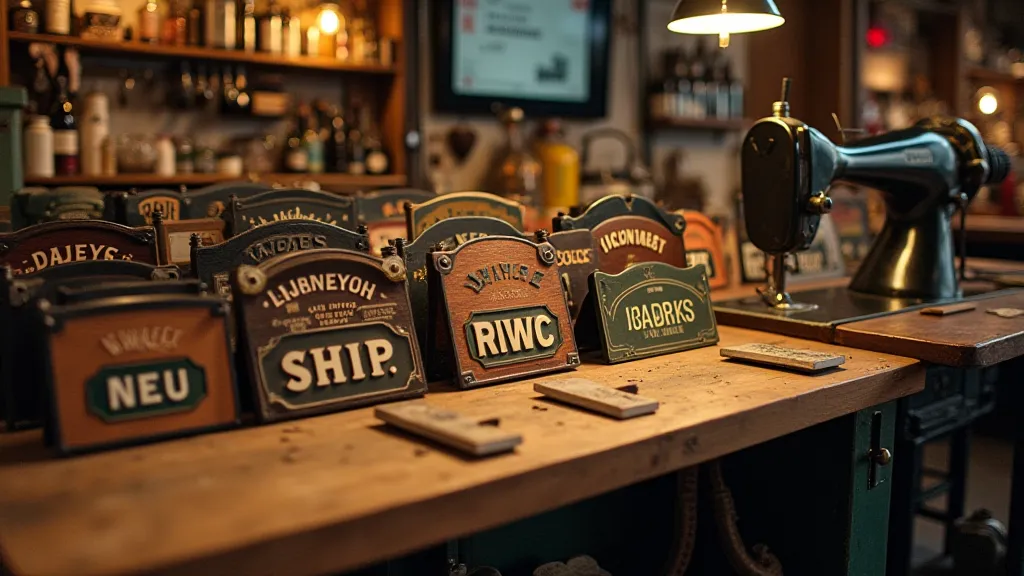
2. Sourcing a Replacement Nameplate
Finding the right replacement nameplate is often the biggest hurdle. Here's a breakdown of where to look, and what to expect at each avenue.
Here are several places to look for a replacement nameplate:
- Online Auction Sites (eBay, etc.): This is often the easiest place to find nameplates. Search using your machine’s model number or manufacturer. Be patient, as listings can be sporadic. Remember to carefully examine seller feedback to ensure authenticity.
- Vintage Sewing Machine Forums & Collector Groups: Many forums have classified sections or members who specialize in parts. Posting a request with your machine’s model details can yield results. The collective knowledge of these communities is invaluable, and you’ve a much better chance of finding a match if you leverage it.
- Specialty Parts Dealers: Some dealers specialize in vintage sewing machine parts. They might have a nameplate in stock or be able to source one for you. These dealers often possess deep expertise and can provide authentication services as well.
- Other Restorers: Connect with other vintage sewing machine restorers. They might have spare parts or know where to find them. Networking with fellow enthusiasts can sometimes lead to unexpected discoveries.
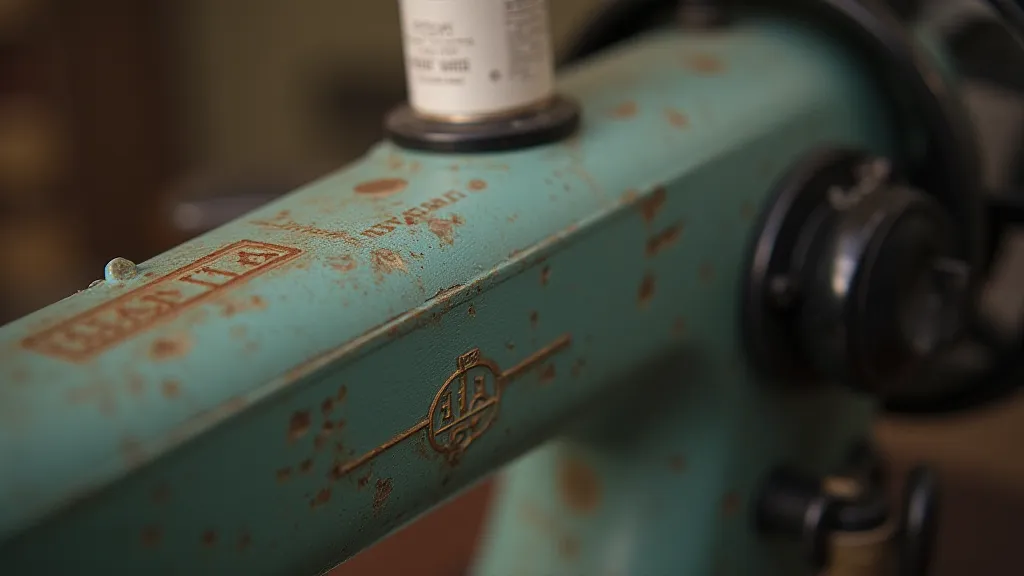
3. Assessing the Replacement Nameplate
Once you find a potential replacement, carefully examine it. This isn't just about aesthetics; it's about ensuring a long-lasting and appropriate restoration. Consider the following:
- Material: The original nameplate was likely made of metal (often steel, brass, or aluminum). Avoid replacements made of flimsy plastic. Plastic will degrade over time, potentially damaging the machine’s paint or finish.
- Size & Shape: Ensure the replacement matches the dimensions and shape of the original. Slight variations can look awkward and may indicate an incorrect match. Precise dimensions are key to a seamless integration.
- Font & Style: The font and overall style should be as close as possible to the original. Mismatched fonts can detract from the machine’s authenticity and character.
- Condition: Even a replacement can have imperfections. Minor scratches are acceptable, but avoid severely damaged plates. Consider the implications of any damage; will it impact the plate's structural integrity or its ability to adhere properly?
- Authenticity: Be wary of reproductions that attempt to mimic the original. Often, these are made from inferior materials or lack the subtle details of the genuine article. If in doubt, consult with a specialist.
Beyond the visual aspects, consider the long-term implications of the material. A poorly chosen material might not withstand the test of time, leading to further deterioration and the need for another restoration down the line. Just as a faulty bobbin case spring can lead to frustrating sewing experiences, a substandard nameplate could compromise the overall integrity of your restoration project. We have a detailed guide on replacing the bobbin case spring, should you encounter those mechanical woes.
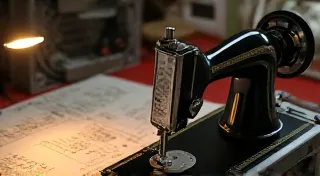
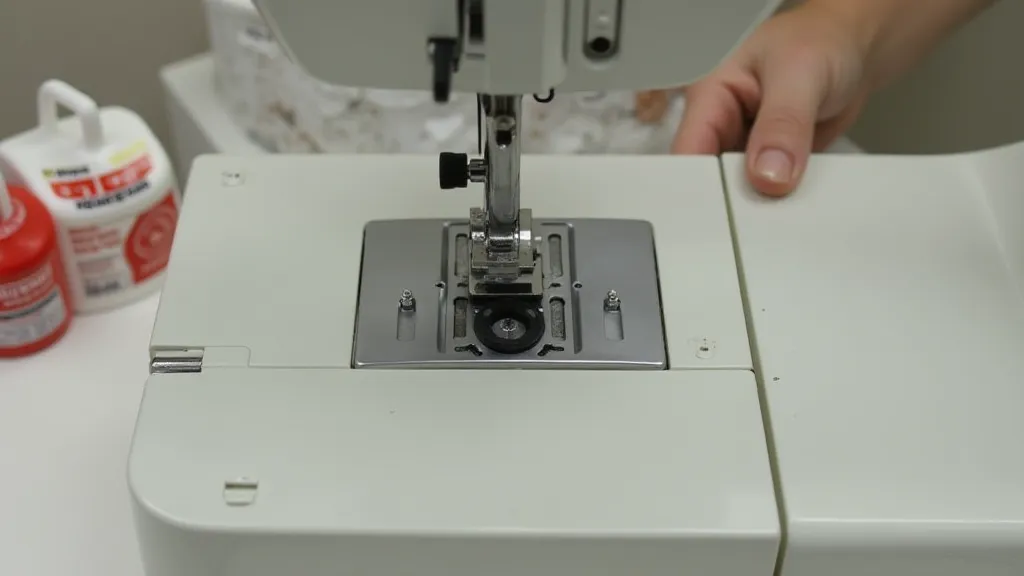
4. Preparing the Sewing Machine
Before applying the new nameplate, cleaning the existing area thoroughly is paramount. This removes residue that could interfere with adhesion and creates a clean canvas for the new plate. Remove any residue from glue or old fasteners. A gentle solvent like mineral spirits can help. Ensure the surface is clean and dry. Thorough preparation is crucial for ensuring proper adhesion and a professional-looking finish. This meticulous approach aligns with the broader philosophy of vintage machine restoration – paying attention to every detail to bring a piece of history back to its former glory. Consider using a degreaser specifically designed for metal surfaces to ensure complete removal of any contaminants.
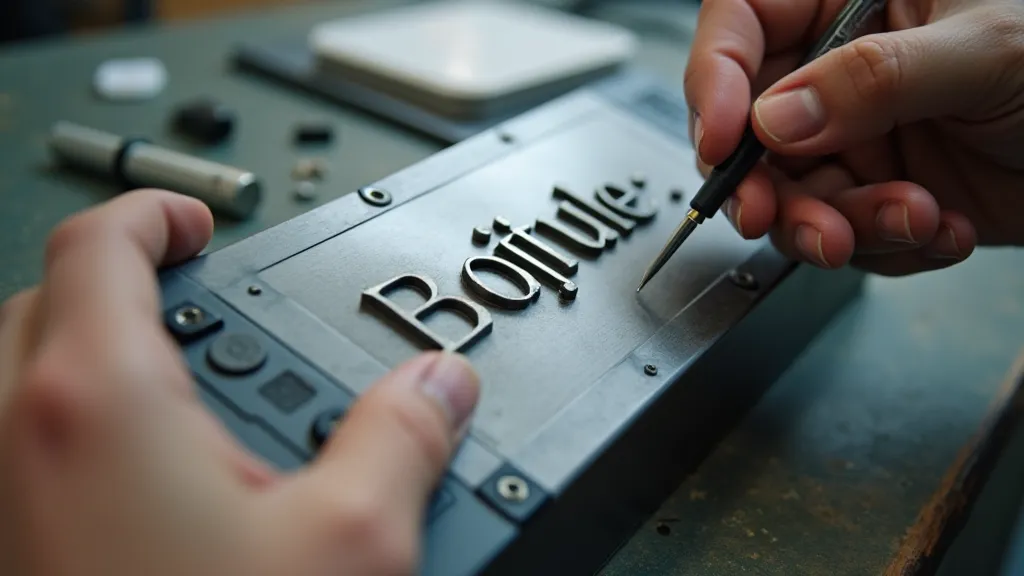
5. Applying the New Nameplate
How you apply the nameplate depends on how it was originally attached. The original method is always preferable when possible, as it ensures the plate is secured in the correct way. Common methods include:
- Original Fasteners: If the original screws or clips are available, use them. Be careful not to overtighten, as this can damage the plate or the machine body. Use the correct size screwdriver to avoid stripping the screw heads.
- Adhesive: Use a strong, archival-quality adhesive specifically designed for metal-to-metal bonding. Apply the adhesive sparingly and evenly to the back of the nameplate. Consider using a clamp to hold the plate in place while the adhesive cures.
- Double-Sided Tape: A less permanent option for temporary placement or machines where permanent adhesion isn’t desired. Ensure the tape is rated for high temperatures and is resistant to solvents.
The choice of adhesive is particularly important. Avoid standard adhesives, as they often yellow or become brittle over time, potentially damaging the machine and the nameplate itself. Archival-quality adhesives are designed to withstand the rigors of time and maintain their integrity, ensuring a lasting bond. This extends to all aspects of vintage machine restoration, emphasizing the importance of using the right materials for the job. Remember, a seemingly small detail like the type of adhesive can have a significant impact on the long-term success of your project. If you're considering converting your machine, as detailed in our guide on converting an electric sewing machine to treadle power, the choice of materials becomes even more crucial.
6. Final Inspection
Once the nameplate is secured, step back and examine it. Make sure it's centered and aligned correctly. If you used adhesive, allow it to cure completely before handling the machine. Follow the adhesive manufacturer’s instructions regarding curing time and temperature. This final inspection is the culmination of your efforts, a chance to appreciate the transformation you've brought about. A missing nameplate can be a source of frustration, but restoring it can be incredibly rewarding.
Replacing a missing nameplate can significantly enhance the appearance and value of your vintage sewing machine. With a little patience and research, you can restore a key piece of its history. Don't let minor mechanical challenges, like those related to tension or the bobbin case, deter you from enjoying the unique charm and functionality of your vintage machine. Continued maintenance and attention to detail will ensure it remains a treasured heirloom for generations to come.
Vintage sewing machines represent a fascinating intersection of engineering, craftsmanship, and history. Restoring a missing nameplate is more than just a cosmetic fix; it’s a testament to the enduring legacy of these remarkable machines and a commitment to preserving a tangible piece of the past. The pursuit of perfection in restoration, encompassing everything from meticulous cleaning to selecting the proper adhesive, reflects a deep appreciation for the artistry and ingenuity that went into creating these iconic machines. By embracing the challenges and rewards of vintage machine restoration, we not only preserve a piece of history but also gain a deeper understanding of the people and processes that shaped our world.
Further reading: For more involved restoration projects, especially those dealing with intricate mechanics, consider exploring other resources dedicated to vintage sewing machine repair. These can provide invaluable insights into troubleshooting common issues and ensuring the long-term functionality of your treasured machine.