Replacing the Bobbin Case Spring: A Practical Guide
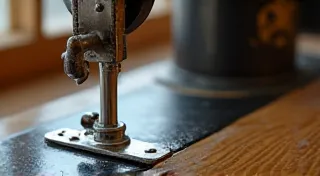
The bobbin case spring is a small but vital component in a vintage sewing machine. It's responsible for properly seating the bobbin and ensuring a smooth, consistent stitch. Over time, these springs can weaken, break, or simply lose their tension, leading to inconsistent bobbin feeding and stitch problems. This guide will walk you through the process of replacing a bobbin case spring, providing practical advice and covering common issues.
Understanding the Bobbin Case Spring
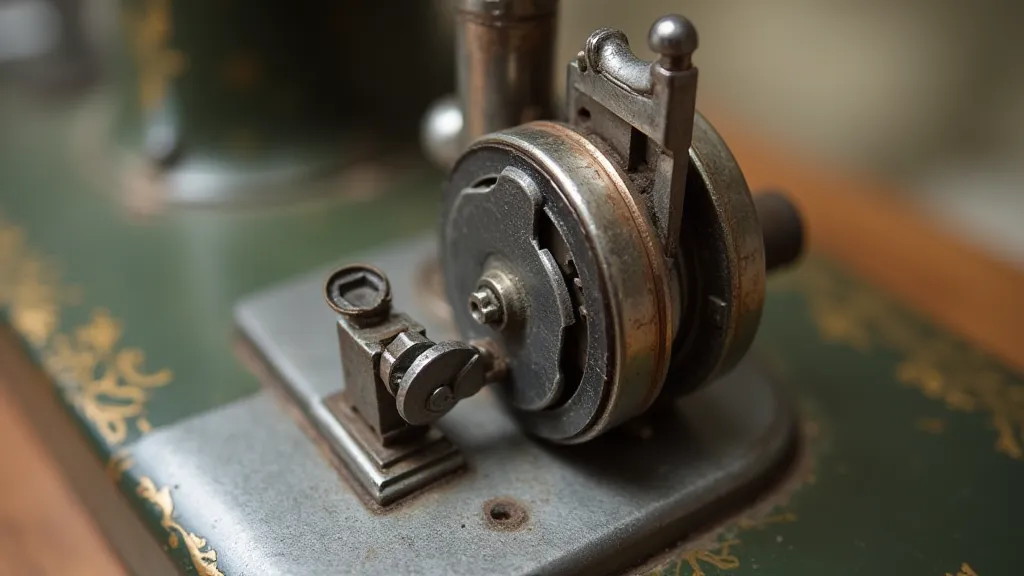
Before you begin, it’s important to understand what the spring does. It pushes the bobbin up against the bobbin race, ensuring the thread is properly engaged. Without a functioning spring, the bobbin may not lift correctly, resulting in skipped stitches, thread bunching, or even complete bobbin disengagement. Proper maintenance of your vintage machine, including regular cleaning and lubrication, can often prevent issues like a failing spring, and keeping everything running smoothly. It's part of a larger system that requires attention - and sometimes restoration – to keep your vintage machine performing optimally. Sometimes, the overall appearance of the machine is impacted by maintenance; if you're concerned about restoring the original finish, consider methods for recovering the machine’s original finish.
Tools You’ll Need
- Small Screwdriver Set: A set with various sizes of flathead screwdrivers is essential. Look for very small sizes to fit the delicate screws often found on vintage machines.
- Needle-Nose Pliers: Useful for manipulating the spring and other small parts.
- Magnifying Glass or Loupe: The springs are tiny, and careful observation is critical.
- Good Lighting: Essential for seeing what you're doing.
- Replacement Spring: We’ll discuss sourcing these later.
- Penetrating Oil: Sometimes the retaining arms can be stiff.
Step-by-Step Replacement Guide
- Disassembly: Carefully remove the bobbin case from the sewing machine. Refer to your machine's manual for specific disassembly instructions. If you don’t have the manual, online resources or forums dedicated to vintage sewing machines can be invaluable. The process of repairing any vintage machine is often about patience and understanding the history of the device – accurate parts identification is critical, and sourcing vintage sewing machine parts can be a complex endeavor, so do your research!
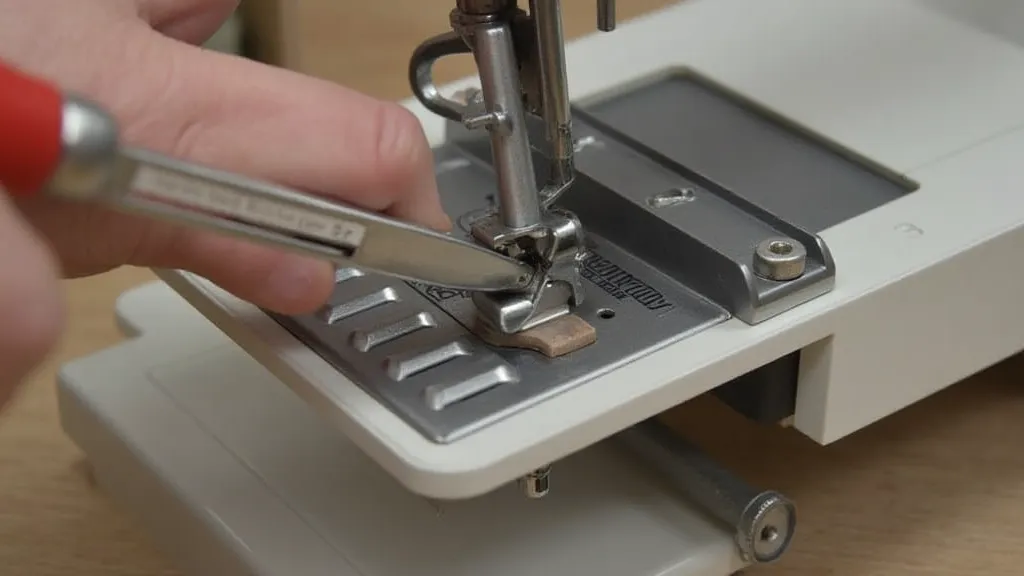
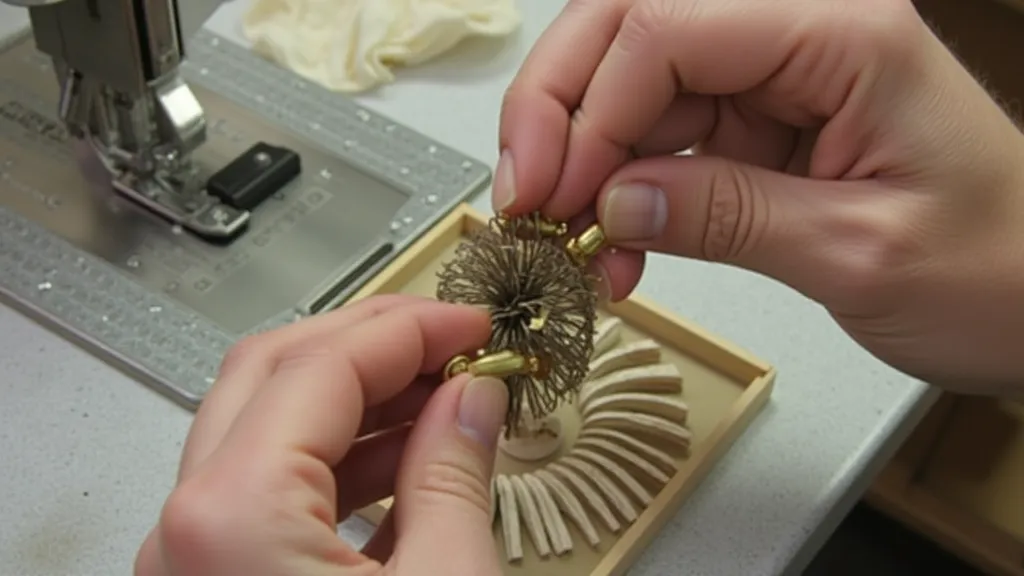
- Spring Removal: This is often the trickiest part. The spring is often held in place by a small retaining arm or latch. Using your needle-nose pliers, gently release this latch. The spring may pop out with surprising force, so be prepared. If you're encountering stiffness, applying a small amount of penetrating oil can sometimes help release the arm, but be extremely careful not to damage any other components. Remember that consistent maintenance, and careful attention to detail, are essential for ensuring your vintage machine continues to operate flawlessly.
- Inspection: Once the old spring is removed, thoroughly inspect it. Note its shape, dimensions, and how it interacts with other components. This will help you ensure the replacement spring is a suitable match. Consider the overall age and condition of your machine - sometimes other components may also need attention.
- Spring Installation: Carefully position the new spring into its designated location. Make sure it's oriented correctly and that it's securely seated. Double-check that the retaining arm or latch is properly engaged.
- Reassembly: Reassemble the bobbin case back into the sewing machine, following the reverse of the disassembly steps. Proper cleaning is paramount.
- Testing: Thread the machine and test the bobbin case function. Wind a few test stitches to ensure the bobbin is feeding correctly and the stitch quality is acceptable. Keep in mind that sometimes, the entire machine needs cleaning and lubrication after working on a part – a thorough cleaning and lubrication is key to long-lasting machine performance. You can find helpful tips on cleaning and lubricating your vintage sewing machine. Dealing with vintage machines is a commitment to preserving history, and a consistent maintenance schedule is essential for that preservation.
Sourcing Replacement Springs
Finding replacement springs can be challenging. Here are a few avenues to explore:
- Vintage Sewing Machine Repair Shops: These shops often stock a variety of replacement parts. They're invaluable resources for not only parts, but also for advice and expertise.
- Online Auction Sites (eBay): Search for “vintage sewing machine bobbin case spring” and specify your machine’s make and model. Be sure to carefully review the seller’s feedback and the item description before making a purchase.
- Online Sewing Machine Parts Suppliers: Several websites specialize in selling vintage sewing machine parts. Often, these suppliers can guide you on the proper part to order, especially if you're unsure about compatibility.
- Salvaging from Other Machines: If you have access to multiple vintage machines, you might be able to salvage a spring from a non-functional one. This is a great option if you’re comfortable dismantling and identifying parts.
Important Note: Springs come in various sizes and shapes depending on the make and model of the sewing machine. It is crucial to obtain a spring that is a precise match to avoid compatibility issues. When in doubt, consult with a vintage sewing machine repair expert. Sometimes, despite careful selection, parts may not fit perfectly. It's a good idea to keep a notebook documenting the specific parts used, so if you need to replace them again in the future, you're prepared. Understanding the intricacies of vintage machines – from their mechanical operation to the nuances of their original finishes – can turn a repair into a fascinating learning experience.
Common Issues and Troubleshooting
- Broken Spring: The most common problem. Handle the old spring with care when removing it to prevent further breakage. Sometimes, the metal becomes brittle with age.
- Incorrect Spring Size: Using a spring that is too large or too small can cause improper bobbin feeding and stitch problems. Always double-check measurements.
- Bent Spring: A bent spring may not provide adequate tension. Attempting to straighten a bent spring is generally not recommended; it's best to replace it.
- Difficulty Releasing the Retaining Arm: Sometimes, the retaining arm can become stiff or corroded. Apply a small amount of penetrating oil if necessary, but be careful not to damage any other components.
- Machine Appearance After Repair: Sometimes, work on the machine’s components, like the bobbin case spring, can impact the overall appearance of the machine. If you're concerned about restoring the original finish, consider methods for recovering the machine’s original finish. Preserving the machine’s original aesthetic is as important as ensuring its mechanical functionality.
Replacing the bobbin case spring is a relatively straightforward repair that can significantly improve the performance of your vintage sewing machine. With patience, care, and the right tools, you can restore this vital component and enjoy many more years of sewing! Remember that consistent maintenance, and careful attention to detail, are essential for ensuring your vintage machine continues to operate flawlessly. The process often reveals fascinating details about the machine's design and manufacturing, offering a unique glimpse into a bygone era of craftsmanship and engineering. Enjoy the journey of preserving these wonderful machines – they represent a link to the past and a testament to the enduring appeal of handmade creations.