Recovering the Machine’s Original Finish
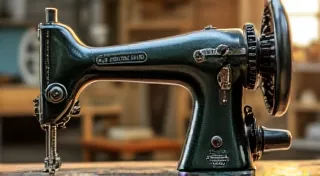
Vintage sewing machines are more than just machines; they’re pieces of history. Often, their original finish – whether it’s a delicate japanning, a durable enamel, or a classic nickel plating – is marred by years of grime, rust, and wear. While a complete refinishing can be an option, many enthusiasts prefer to preserve and recover as much of the original finish as possible. This article provides a step-by-step guide to safely restoring and protecting your vintage sewing machine’s original finish. Understanding the intricacies of these finishes and using the right techniques can breathe new life into a cherished piece of machinery.
Understanding the Original Finish
Before you begin, it's crucial to identify what kind of finish you're dealing with. Common finishes include:
- Japanning: A traditional lacquer finish, often found on machines from the late 1800s and early 1900s. It's notoriously fragile and can be easily damaged by harsh chemicals. Preserving japanning requires a particularly gentle touch.
- Enamel: A more durable baked-on finish, popular in the mid-20th century.
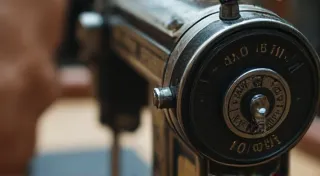
- Nickel Plating: A shiny, reflective finish often found on higher-end machines.
- Paint: Simple painted finishes were also used, though less common on nicer models.
The finish type dictates the cleaning and restoration techniques you're able to use. The process can be complex, and regular maintenance is key to preventing deterioration. If unsure, a careful test in an inconspicuous area is always recommended. Keeping your machine properly cleaned and lubricated is also vital for maintaining its overall health and appearance.
Step 1: Gentle Cleaning – The First Line of Defense
Begin with the gentlest cleaning method possible. Avoid abrasive cleaners, steel wool, or harsh solvents. A systematic approach ensures minimal damage.
- Warm Water and Mild Soap: Use a soft cloth dampened with warm water and a very mild soap (like dish soap diluted heavily). Gently wipe down the machine's surfaces.
- Mineral Spirits: For stubborn grime, mineral spirits can be effective. Always test a small area first, as it can affect some finishes. Apply sparingly with a soft cloth.
- Baking Soda Paste: A paste made from baking soda and water can help remove some surface discoloration. Apply gently and rinse thoroughly.
Rinse thoroughly with clean water and dry completely with a soft, clean cloth. Avoid getting water into the machine’s internal mechanisms. This initial cleaning step lays the groundwork for the subsequent restoration process, and ensuring complete dryness prevents further corrosion.
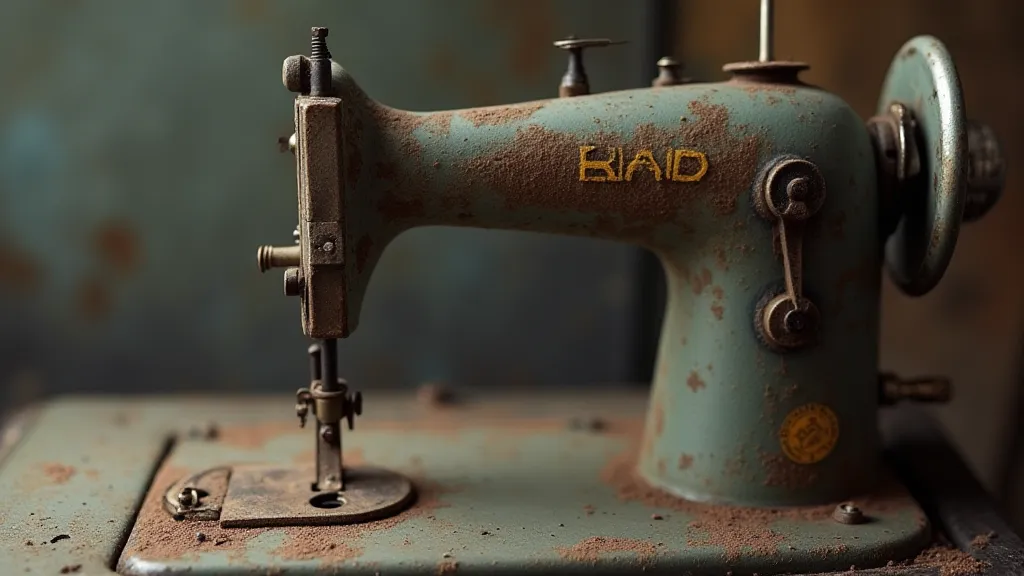
Step 2: Addressing Rust – A Delicate Approach
Surface rust is common on vintage sewing machines. It's a frustrating problem but manageable with the right techniques. Here's how to deal with it safely:
- White Vinegar: A soak in white vinegar can loosen light surface rust. Again, test a small area first. Rinse thoroughly and dry immediately. The acidic nature of vinegar helps to dissolve rust, but prolonged exposure can damage certain finishes.
- Oil: Applying a light coat of machine oil can help displace rust and prevent further corrosion.
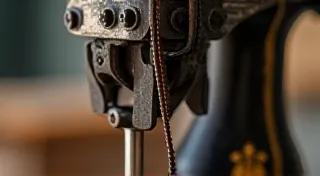
- Rust Removers (with caution): Commercial rust removers are available, but many contain harsh chemicals. Use these only as a last resort and always follow the manufacturer's instructions carefully. Understanding the type of finish is essential when considering these potentially aggressive treatments. Sometimes, a missing nameplate can be a sign of a machine that has undergone less-than-ideal treatments in the past. The condition of a nameplate, and its presence or absence, can often be a key indicator of a machine’s history and what it may have endured.
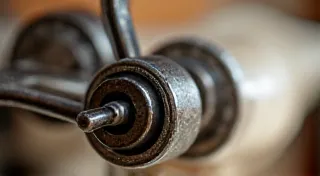
Step 2.5: Mechanical Considerations and Repair
While focusing on cosmetic restoration is important, don't neglect the machine's mechanical functionality. A beautiful machine that doesn't stitch reliably is ultimately frustrating. Addressing issues like sticking mechanisms, uneven tension, or a noisy motor will significantly enhance the overall experience. Consider the intricacies of specific models; for example, understanding the stitching mechanism of a machine like the Singer 66 stitch guide can provide valuable insights into how the machine operates and where common issues arise, informing your restoration approach.
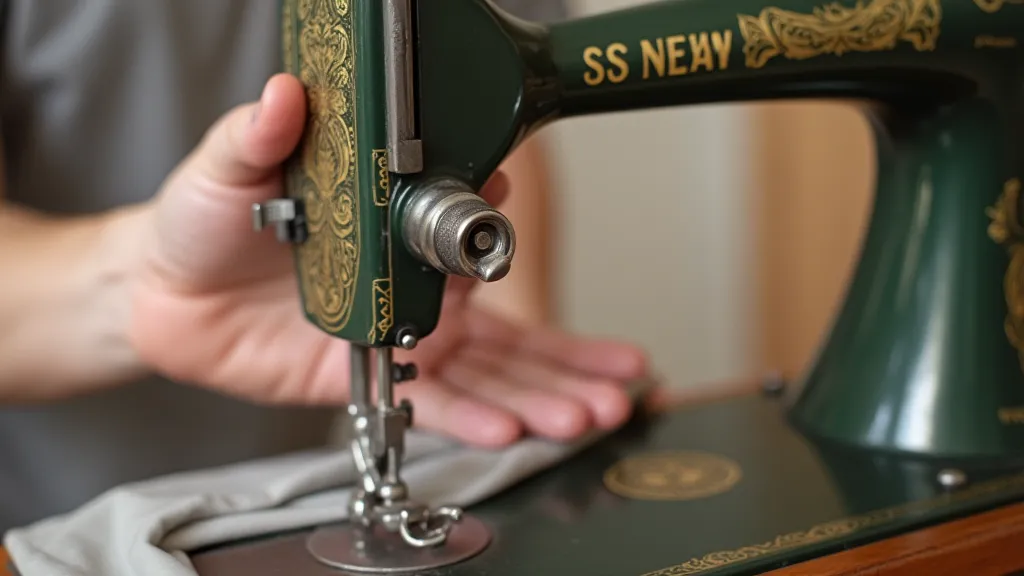
Step 3: Polishing and Preservation
Once the machine is clean and any rust has been addressed, it's time to polish and protect the finish. This is where the nuances of different finishes truly come into play. For example, understanding the stitching mechanism of a machine like the Singer 66 stitch guide can help determine the best polishing approach, as the components will likely have different finishes.
- Metal Polish (for nickel plating): Use a metal polish specifically designed for nickel plating, following the product instructions. Apply sparingly and buff to a shine.
- Waxing (for japanning and enamel): A thin coat of high-quality carnauba wax can help protect japanning and enamel finishes.
- Microcrystalline Wax: Another option for protecting fragile finishes.
Buff the surface gently with a soft cloth. Avoid excessive pressure, as this can damage delicate finishes. The choice of polishing compounds and application techniques should be tailored to the specific finish being addressed, ensuring that you’re enhancing, not damaging, the original surface.
Step 4: Preventing Future Damage
Regular maintenance is key to preserving your vintage sewing machine's finish. A proactive approach saves time and money in the long run.
- Dust Regularly: Dust the machine with a soft cloth to prevent the build-up of dirt and grime.
- Avoid Direct Sunlight: Direct sunlight can fade and damage finishes.
- Store Properly: When not in use, store the machine in a cool, dry place.

Important Considerations
Restoring a vintage sewing machine is a labor of love. It requires patience, careful observation, and a willingness to learn. Here are some additional tips to ensure a successful restoration:
- Always Test: Before applying any cleaning or polishing product, always test it in an inconspicuous area. A small test spot can save you from a costly mistake.
- Patience is Key: Restoring a vintage sewing machine’s finish takes time and patience. Don’t rush the process. Rushing can lead to irreversible damage.
- Professional Help: If you’re unsure about any aspect of the restoration process, consider seeking professional help from a vintage sewing machine expert. Their expertise can be invaluable.
- Document Your Work: Taking photographs before, during, and after the restoration process can be incredibly useful for future reference and for sharing your journey with fellow enthusiasts.
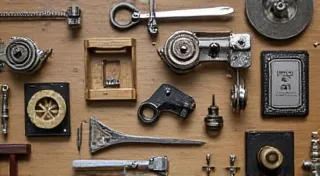
- Research Specific Models: Different models and manufacturers often employed unique finishes and construction techniques. Researching your specific machine can provide valuable insights.
Beyond the cleaning and polishing, consider the overall condition of the machine. Are there missing parts? Is the mechanical operation smooth and efficient? Addressing these issues alongside the cosmetic restoration will result in a machine that is not only beautiful but also functional and reliable. The information found in resources like a Singer 66 stitch guide can inform this assessment.
The process of restoring a vintage sewing machine is more than just bringing back its appearance; it’s about preserving a piece of history and ensuring that it continues to inspire creativity for generations to come.