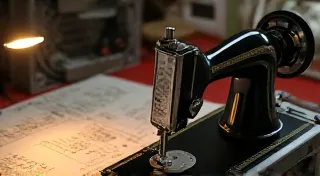
Understanding and Fixing Needle Bar Instability
A wobbly or unstable needle bar is a surprisingly common problem encountered when restoring vintage sewing machines. It can lead to skipped stitches, broken needles, and general erratic sewing. This guide dives into the causes of needle bar instability and offers solutions, from simple adjustments to component replacement. Proper alignment and secure fixing are crucial for optimal performance. Many vintage sewing machine owners find themselves needing to identify and source specific parts to address these issues, so let's get started.
Why is a Stable Needle Bar Important?
The needle bar's primary function is to guide the needle precisely up and down. Any deviation from a true vertical path introduces stress on the needle, the fabric, and the machine's internal mechanisms. Even seemingly minor instability can significantly impact stitch quality and contribute to premature wear on other parts. This is especially true for machines with complex treadle mechanisms, where any instability can be amplified; if you're experiencing issues with your treadle, you might want to check out our guide to troubleshooting a sticky treadle.
Common Causes of Needle Bar Instability
Let’s break down the most frequent culprits:
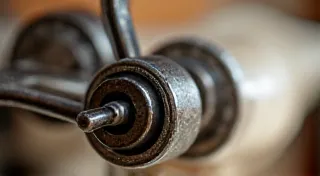
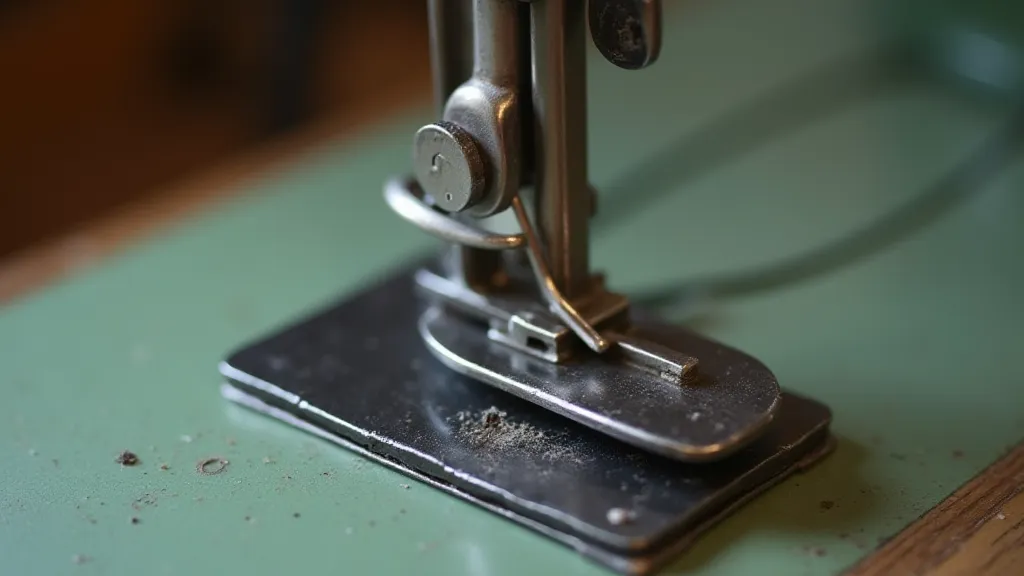
- Worn or Damaged Needle Bar Guides: These small components, often brass or steel, guide the needle bar in a straight line. They are subjected to constant friction and wear, and can become loose, bent, or corroded. Think of them as tiny rails guiding the needle—if those rails are warped, the journey won't be smooth.
- Loose Needle Bar Clamps: Many vintage machines utilize clamps or screws to secure the needle bar. These fasteners can loosen over time due to vibration and use. This is often the easiest fix!
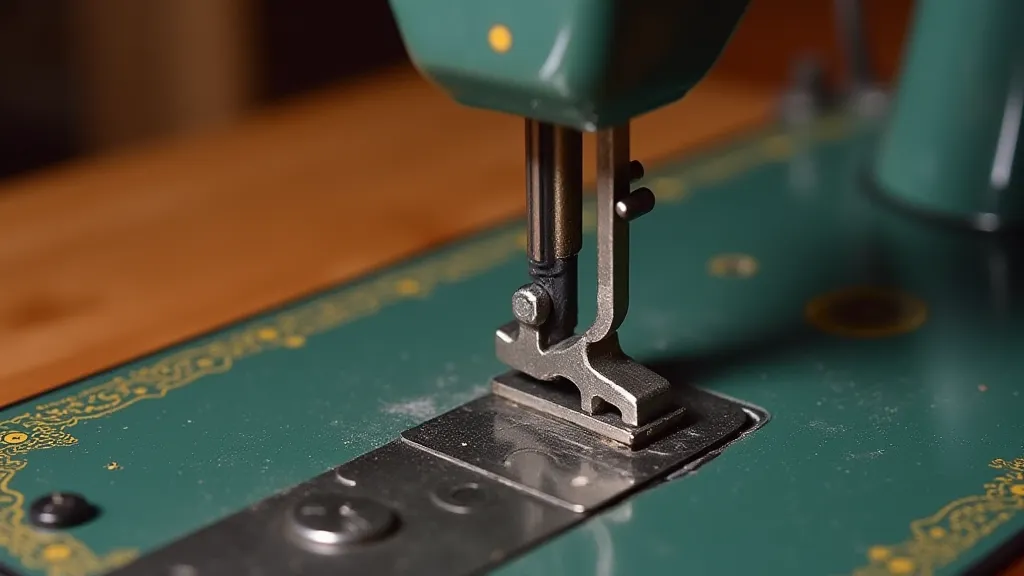
- Damaged Needle Bar Itself: While less common, the needle bar itself can bend or develop cracks, especially if the machine has been subjected to impact. A visual inspection is key here.
- Worn Pivot Points: The needle bar rotates on pivot points within the machine's mechanism. These pivot points can wear, creating slack and instability. This is a more complex issue that often requires specialized tools and expertise.
- Corroded or Dried Lubricant: Lack of proper lubrication can cause friction and sticking, contributing to an uneven movement and instability. Regular lubrication is the single most important preventative measure.
- Incorrect Presser Foot Pressure: While less direct than other factors, excessive or insufficient presser foot pressure can put strain on the needle bar mechanism and contribute to instability. It's worth reviewing our guide to adjusting the presser foot pressure if you're facing persistent issues.
Diagnosis & Troubleshooting
Before attempting any repairs, carefully diagnose the specific issue. Here’s a methodical approach:
- Visual Inspection: Carefully examine the needle bar, its guides, and the mounting hardware. Look for any signs of damage, corrosion, or looseness. Pay close attention to the condition of the needle bar guides—their alignment significantly impacts needle bar stability.
- Manual Movement Test: With the machine unplugged, gently move the needle bar by hand. Note any wobble, binding, or excessive play.
- Check for Looseness: Attempt to wiggle the needle bar in all directions. Any play indicates a loose fastener or worn pivot.
- Listen for Sounds: As you move the needle bar, listen for any clicking or grinding sounds that might indicate worn or damaged components.
- Observe Stitch Quality: While diagnosing, pay attention to the resulting stitch quality. Skips, loops, or broken threads are strong indicators of a problem with the needle bar's alignment or stability.
Repair and Restoration Techniques
The solution depends entirely on the diagnosis. Here are some repair options, starting with the simplest:
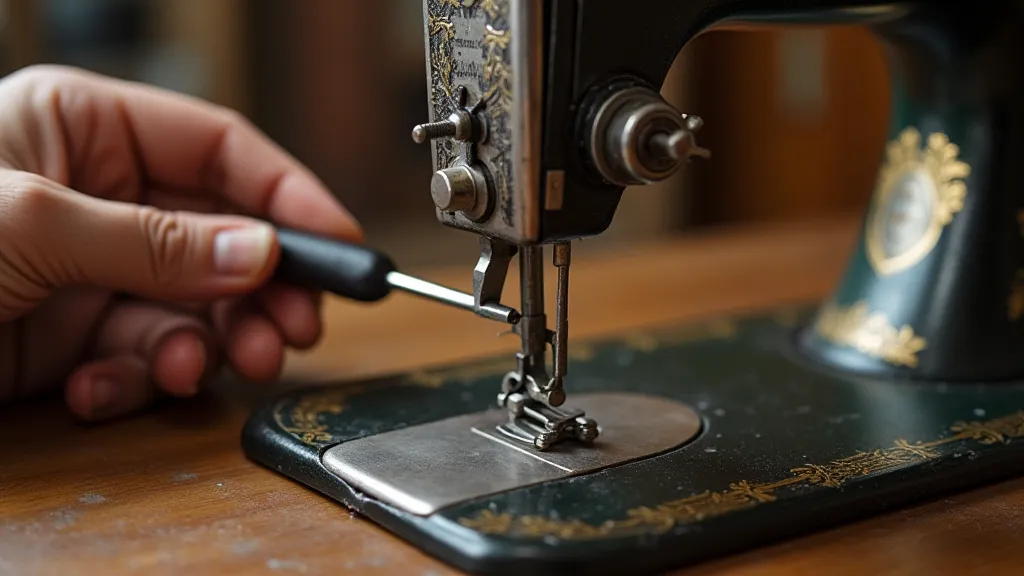
1. Tightening Fasteners
Often, a simple tightening of the needle bar clamps or screws will resolve minor instability. Use the correct size screwdriver to avoid stripping the screw heads. Remember to check all fasteners, not just the most obvious ones.
2. Cleaning and Lubrication
A thorough cleaning and lubrication of the needle bar and its guides can reduce friction and improve movement. Use a sewing machine oil specifically designed for this purpose. Over time, the original lubricant can dry out and become sticky, exacerbating instability. Regular lubrication extends the life of the machine and prevents future problems.
3. Adjusting Needle Bar Guides
If the needle bar guides are slightly bent, they may be straightened using a small, fine-tipped tool. Be extremely cautious, as excessive force can damage the guides. If severely damaged, replacement is preferable. The condition of these guides plays a crucial role; sometimes, even a minuscule bend can throw off the entire system.
4. Replacing Worn Guides
Replacement guides are often available for popular vintage sewing machine models. Follow the manufacturer’s instructions for proper installation. Sourcing these parts can sometimes be tricky, which is why it’s useful to know where to identify and source vintage sewing machine parts.
5. Addressing Worn Pivot Points
This repair is more complex and may require specialized tools and expertise. It often involves cleaning and lubricating the pivot points, or in some cases, replacing worn bushings or bearings. It's important to note that this can involve dismantling part of the machine's mechanism, so proceed with caution and consult a qualified technician if you're unsure.
6. Needle Bar Replacement
In cases of severe damage or bending, replacement of the entire needle bar might be necessary. Source a replacement from a reputable vintage sewing machine parts supplier. Before undertaking such a significant repair, carefully assess the extent of the damage and consider the overall value of the machine.
Preventative Measures
To keep your vintage sewing machine running smoothly, incorporate these preventative measures:
- Regular Lubrication: Apply sewing machine oil regularly, especially after extended use. Establish a lubrication schedule and stick to it.
- Periodic Inspection: Periodically inspect the needle bar and its associated components for signs of wear or damage. This is especially important for machines that see a lot of use.
- Proper Handling: Avoid dropping or bumping the machine, as this can damage the needle bar and other delicate parts. Treat your vintage machine with the care it deserves.
- Cleanliness: Keep the machine clean and free of lint and debris. Lint buildup can impede movement and contribute to wear.
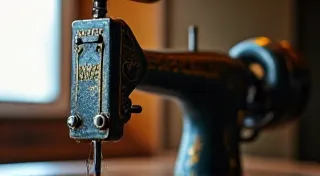
- Nameplate Restoration (Optional): While not directly related to needle bar stability, restoring a missing or damaged nameplate can enhance the machine's overall appearance and preserve its historical value. You can learn more about restoring a missing nameplate on your machine.
Restoring a vintage sewing machine's needle bar stability is often a straightforward process. By following these guidelines, you can significantly improve your machine's performance and extend its lifespan. The little things matter when it comes to vintage machines – a little preventative maintenance goes a long way!