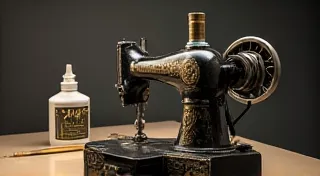
Replacing a Sewing Machine Belt: A Step-by-Step Tutorial
A worn or broken belt is a common problem with vintage sewing machines. A slipping, noisy, or simply non-functional machine often points to a belt that needs replacing. This guide will walk you through the process of replacing a sewing machine belt, whether you're dealing with a treadle machine or an electric model. We'll cover different belt types, how to measure for the correct size, and detailed installation instructions. Addressing this problem often means more than just a new belt; sometimes, it requires a deeper understanding of how your machine operates, potentially even involving a conversion like that seen when converting an electric sewing machine to treadle power. This guide aims to give you that foundational knowledge.
Understanding Sewing Machine Belts
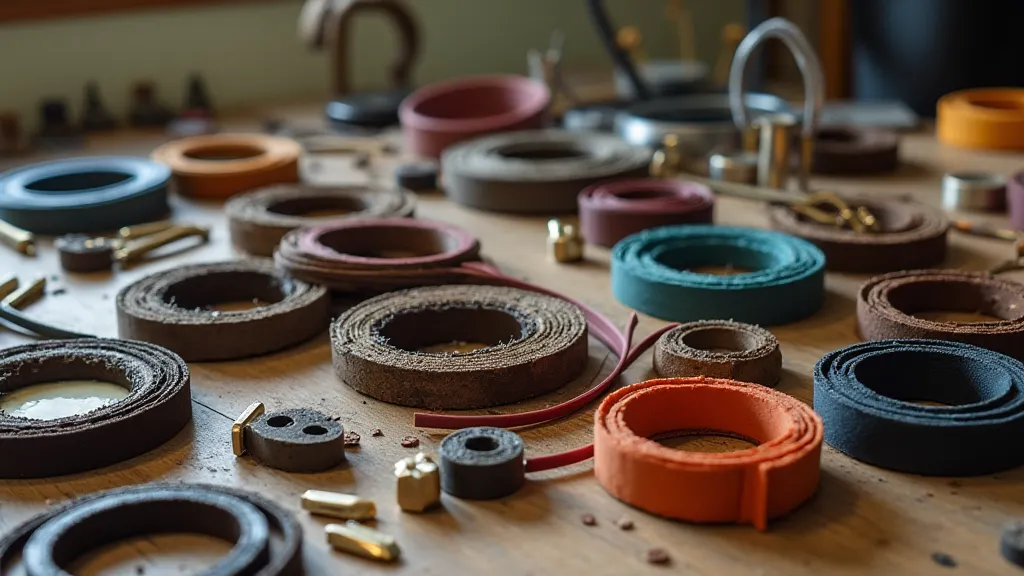
Not all sewing machine belts are created equal. They vary in material, width, and length depending on the model. Common types include:
- Rubber Belts: These are the most common type, offering good grip and durability.
- Leather Belts: Often found on older treadle machines, leather belts require more care and can stretch over time. Maintaining these belts effectively is vital for smooth operation.
- V-Belts: Some electric machines use V-shaped belts to transfer power effectively.
Measuring for the Correct Belt Size
Getting the correct belt size is crucial for proper machine operation. Here's how to measure:
- Existing Belt Measurement: The easiest way is to measure the length of your old belt. Use a flexible measuring tape, pulling it taut but not stretched. Note this measurement in inches or millimeters.
- Circumference Measurement: If the original belt is missing, you'll need to measure the circumference of the pulleys. Wrap a string tightly around both pulleys (motor pulley and drive pulley), mark the string where it overlaps, and then measure the string with a ruler. Add about 2 inches (5cm) to this measurement. This provides a guideline; it’s always best to double-check with a reference chart for your machine model if possible. This process can sometimes reveal underlying issues with pulley alignment or wear, impacting the overall performance – a problem that often requires careful troubleshooting tension issues. Inaccurate measurements can also lead to improper stitch length, requiring adjustments and potentially more complex repairs.
- Consult a Reference Chart: Many online resources and sewing machine repair manuals provide belt size charts specific to different machine models. These charts are invaluable for accurate sizing.
Beyond simply obtaining the correct length, understanding how the belt interacts with the machine's mechanical components is crucial. This includes factors like pulley diameter and the overall drive system design. Older machines, in particular, may have unique belt specifications that are not readily available, necessitating careful research and potentially contacting a specialist. The nuances of these older designs are a testament to the ingenuity of early sewing machine engineers, and appreciating these details can add a deeper connection to your craft.
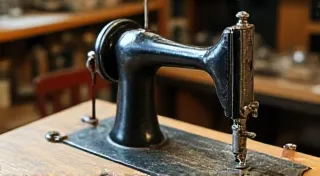
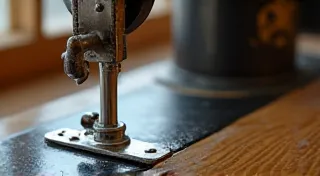
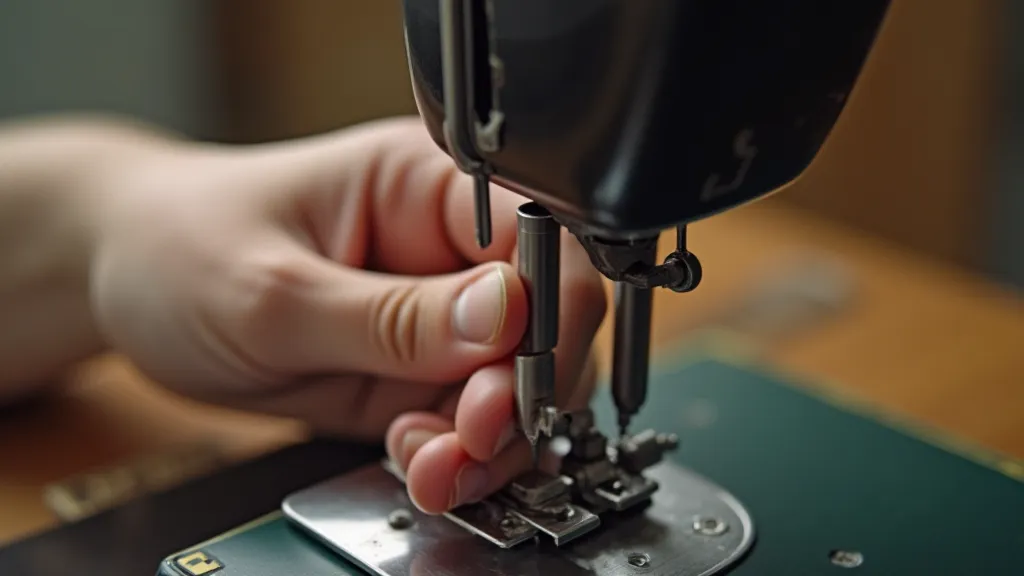
Replacing the Belt - Treadle Machines
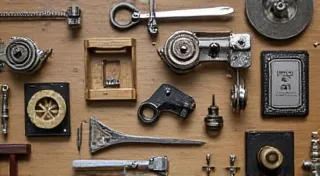
Replacing a belt in a treadle machine can be a little more involved than with electric machines due to the multiple pulleys. The complexity often requires a keen eye for detail, and sourcing the correct parts can be a unique challenge. Knowing where to find and identify these parts is a skill in itself; understanding the availability of parts is key, especially when dealing with vintage machines – a skill honed by those who know how to identifying and sourcing vintage sewing machine parts. The process of finding these parts can often feel like a treasure hunt, requiring patience and a willingness to explore antique shops and online forums dedicated to vintage sewing machines.
Treadle machines represent a fascinating intersection of mechanical engineering and craftsmanship. The elegant and efficient design of the treadle system allowed for sewing without the reliance on electricity, a remarkable feat for its time. The challenges in maintaining these machines today, especially in sourcing replacement parts, underscore the enduring legacy of their ingenuity. Sometimes, even a seemingly minor adjustment, like proper belt tension, can significantly impact the overall performance and longevity of a treadle machine.
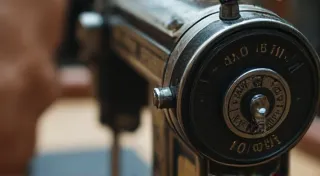
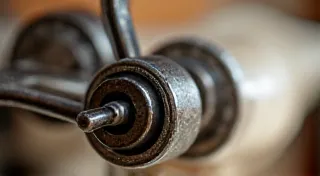
- Loosen the Pulleys: Carefully loosen the screws securing the pulleys. Be prepared for some resistance; they can be quite tight.
- Route the New Belt: Carefully route the new belt around each pulley, ensuring it sits correctly in the grooves (if applicable).
- Tighten the Pulleys: Carefully tighten the screws to secure the pulleys. Avoid over-tightening, which can damage the belt or pulleys.
- Test the Treadles: With assistance, gently treadle the machine to ensure the belt is properly seated and the machine operates smoothly.
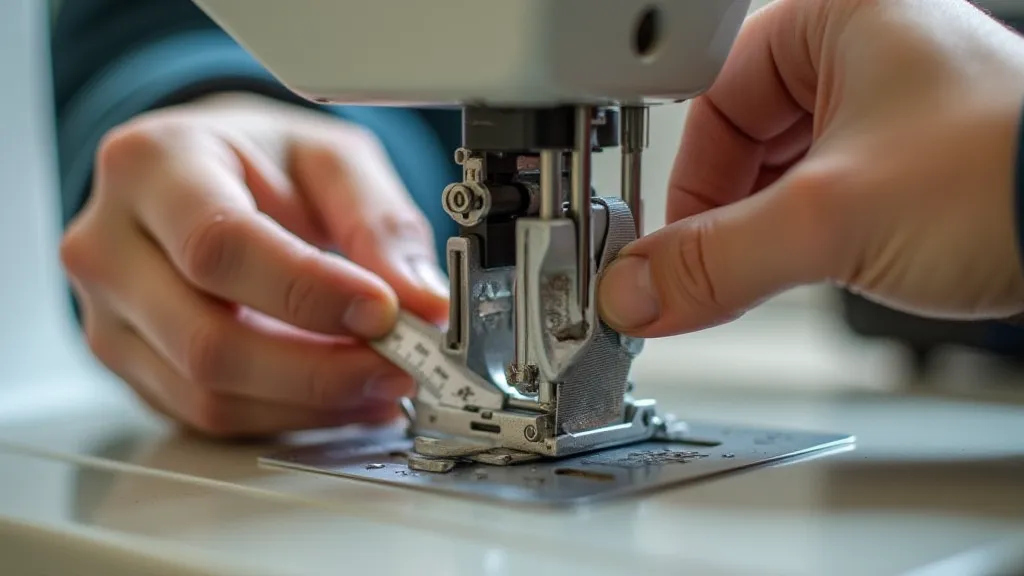
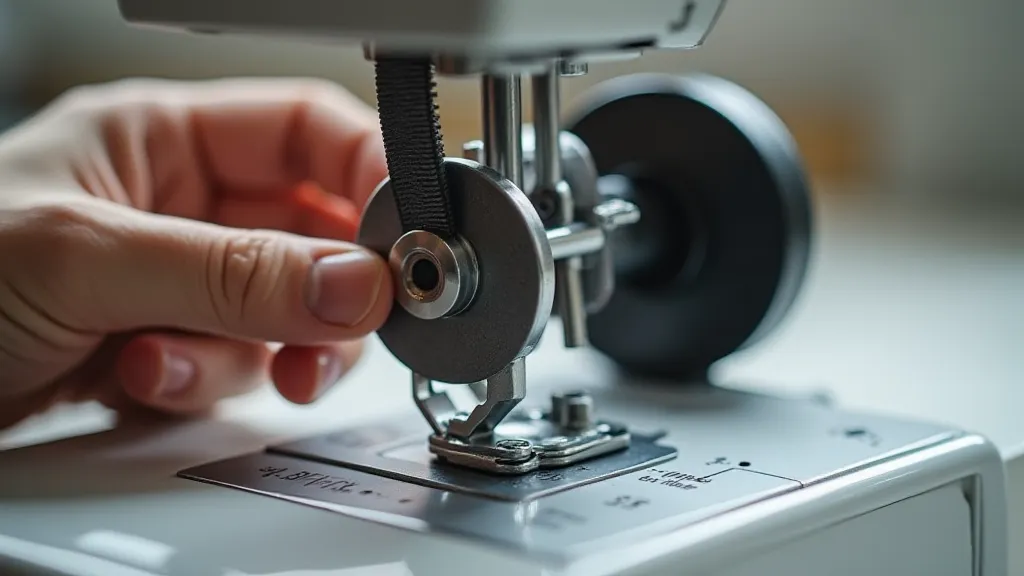
Replacing the Belt - Electric Machines
Replacing a belt on an electric sewing machine is typically a straightforward process. However, even a seemingly simple repair can be complicated by incorrect settings or wear and tear on other components. Recognizing and correcting these issues often involves adjusting stitch length—a task requiring precision and a good understanding of your machine's mechanics – a skill explored in detail when identifying and correcting incorrect stitch length. Furthermore, ensuring proper belt tension is key to preventing premature wear and tear on the belt and motor.
Electric sewing machines represent a significant advancement in sewing technology, offering increased speed and efficiency compared to their manual counterparts. However, even these modern machines require regular maintenance to ensure optimal performance. The delicate balance between motor power and belt flexibility highlights the intricate design considerations that go into creating a reliable sewing machine.
- Disconnect Power: Always disconnect the machine from the power outlet before starting any repair.
- Access the Belt: Usually, the belt is accessible from underneath the machine or by removing a bottom plate. Consult your machine's manual for specific access instructions.
- Remove the Old Belt: Carefully work the old belt off the pulleys. Note the belt's routing – a picture might be helpful!
- Install the New Belt: Carefully route the new belt onto the pulleys, following the same path as the old belt. Ensure it’s seated correctly in any grooves.
- Reconnect Power & Test: Reconnect the machine to the power outlet and test its operation.
Important Considerations
Beyond the simple replacement of the belt itself, several factors contribute to the overall health and performance of your sewing machine. These range from proper tensioning to identifying the correct belt material. A poorly maintained or incorrectly chosen belt can lead to a cascade of problems. Remember that the lifespan of your belt depends not only on its initial quality but also on how well you maintain it.
- Belt Tension: The belt should have a slight amount of slack. Too tight, and the motor will struggle; too loose, and the belt will slip. Maintaining proper tension extends the belt's lifespan and prevents motor strain. This seemingly minor adjustment can make a significant difference in the overall performance and longevity of your machine.
- Belt Material: Use the correct belt material for your machine. Refer to your machine's manual or consult with a sewing machine repair specialist. Different materials offer varying levels of grip, durability, and resistance to wear. For example, a machine used for heavy-duty fabrics might benefit from a more robust belt material.
- Professional Help: If you're unsure about any part of this process, consult a qualified sewing machine repair technician. While this guide provides detailed instructions, complex issues may require professional expertise. Ignoring subtle signs of wear or malfunction can lead to more extensive and costly repairs down the road.
Replacing a sewing machine belt is a manageable task that can breathe new life into your vintage machine. With the right tools, a little patience, and this guide, you'll be sewing again in no time! Remember that a thorough inspection of the machine's overall condition is always recommended alongside belt replacement. This preventative maintenance can uncover other potential issues before they escalate into larger, more costly repairs. The ongoing care of your sewing machine is an investment in its longevity and your enjoyment of the craft. From understanding belt tension to troubleshooting unexpected behavior, knowledge is your best tool for keeping your machine running smoothly.