The Ultimate Guide to Vintage Sewing Machine Restoration: From Beginner to Expert
Welcome! This comprehensive guide is for anyone passionate about restoring antique sewing machines and tackling sewing machine repair. Whether you're a seasoned repairer, a budding enthusiast, or just starting to explore the fascinating world of vintage mechanics, this resource will provide you with the knowledge, techniques, and resources to bring these classic machines back to life. We're not just offering tips; we're building a community around preserving a tangible piece of history.
Why Restore Vintage Sewing Machines? The Allure of the Past
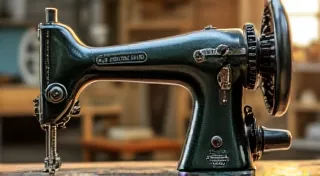
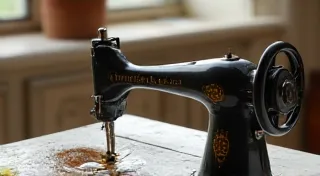
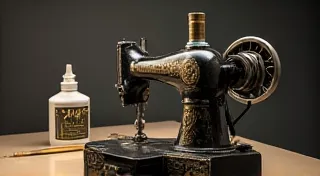
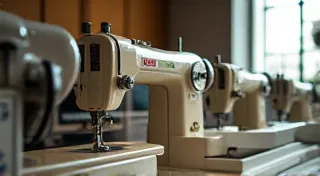
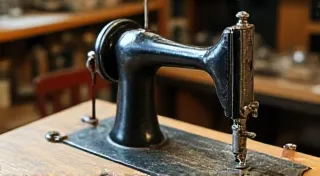
In a world dominated by disposable electronics and mass-produced goods, there’s a growing appreciation for the craftsmanship and durability of vintage items. Antique sewing machines, in particular, represent a unique blend of engineering ingenuity, elegant design, and a connection to a time when quality and longevity were paramount. Restoring these machines isn't just about fixing a mechanical device; it’re about preserving a piece of history, reconnecting with a forgotten era, and appreciating the skills of the artisans who created them. The satisfying *thunk* and smooth operation of a meticulously restored antique sewing machine is a reward unlike any modern appliance can offer.
Getting Started: Understanding Your Machine – Identifying and Assessing
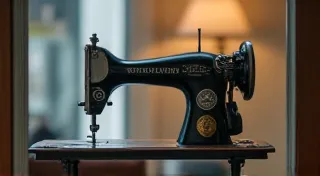
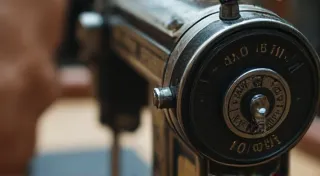
Before you begin any restoration project, it's crucial to understand the machine you're working on. Knowing how to understand sewing machine serial numbers allows you to accurately identify the model and its manufacturing date. This information is vital for finding accurate repair manuals, parts diagrams, and other resources specific to your machine. Many manufacturers, like Singer, had distinct model numbers and serial numbering systems, and correctly identifying your machine is the first step toward a successful restoration.
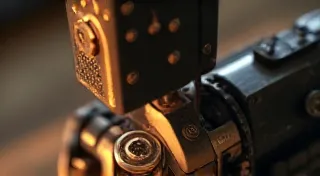
The assessment phase is equally important. Thoroughly inspect the machine for damage, wear, and missing parts. Document everything with photographs – this will serve as a valuable reference throughout the restoration process. Note the condition of the following components:
- Motor: Check for rust, damage to the armature, and proper electrical connections.
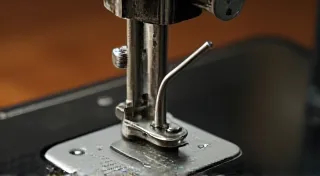
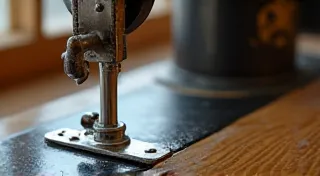
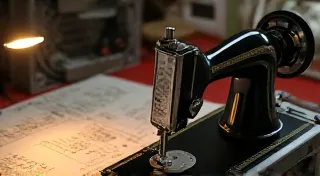
- Needle Bar Mechanism: Assess the smoothness of the needle bar's movement and identify any points of friction.
- Bobbin Winder: Ensure the bobbin winder is functioning correctly and free from obstructions.
- Cabinet (if applicable): Evaluate the condition of the cabinet, including the finish, hardware, and overall structural integrity.
- Feed Dog: Feed dog mechanism and its condition
Common Restoration Projects & How-Tos
Vintage sewing machines often require specific repairs. Here’s a breakdown of common issues and the resources we provide to address them:
- Bobbin Case Issues: A frequently encountered problem is a faulty bobbin case spring. Our guide to replacing the bobbin case spring offers a practical, step-by-step approach. This repair often requires careful disassembly and reassembly, and a keen eye for detail. A correctly functioning bobbin case is essential for even stitching and prevents thread bunching.
- Stitch Length Problems: Incorrect stitch length can ruin fabric and affect sewing quality. Learn how to identify and correct incorrect stitch length. This might involve adjusting the timing mechanism, cleaning and lubricating the feed dog, or replacing worn-out parts.
- Needle Bar Instability: Understanding and fixing needle bar instability is critical for smooth operation and accurate stitching. This often requires cleaning and lubricating the needle bar mechanism, adjusting the tension, and replacing worn-out parts.
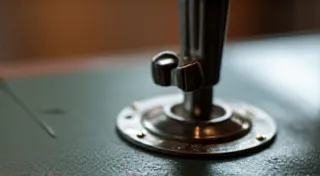
- Tension Problems: Troubleshooting tension issues is often necessary. This involves checking the tension discs, adjusting the tension dial, and ensuring that the thread path is clear and unobstructed.
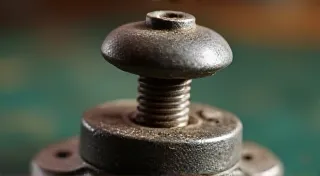
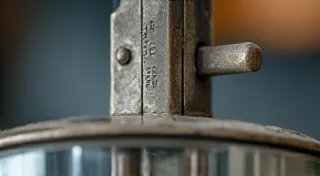
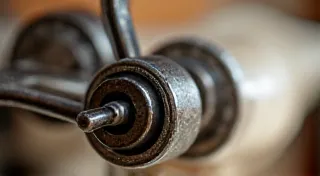
- Handwheel Repair: Repairing a broken handwheel ensures you have full control over the machine. This can involve replacing the handwheel itself or repairing damaged spokes.
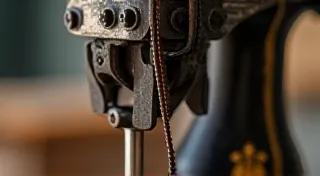
- Belt Replacement: A worn belt impacts performance. Find our step-by-step tutorial for replacing it. Use a belt specifically designed for antique machines, as modern belts may not fit correctly or provide the same level of performance.
- Bobbin Winder Trouble: If your bobbin winder is sticking, our guide will help you diagnose and fix it. This may involve cleaning and lubricating the bobbin winder mechanism, adjusting the tension, or replacing worn-out parts.
Cosmetic Restoration: Bringing Back the Shine
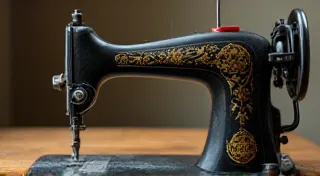
Restoring the aesthetics of a vintage sewing machine is as important as the mechanical repairs. This involves cleaning, polishing, and refinishing the machine to bring back its original shine. This is particularly important for antique sewing machines.
- Cleaning: Start by thoroughly cleaning the machine with a mild soap and water solution. Remove any dirt, grime, and rust.
- Polishing: Use a metal polish to restore the shine of the metal parts. Be careful not to scratch the finish.
- Finish Restoration: Recovering the machine’s original finish involves careful cleaning, stripping old finishes (if necessary), and applying new finishes to match the original. This is an art form that requires patience and skill. Consider using period-appropriate finishes to maintain authenticity.
Electrical Repair: Safety First
If your machine is electrically powered, electrical repair is a crucial part of the restoration process. Always disconnect the machine from the power source before attempting any electrical repairs.
- Motor Rewinding: If the motor is damaged, it may be necessary to rewind it. This is a complex task that requires specialized equipment and expertise.
- Wiring Replacement: Replace any damaged or frayed wiring with new wiring of the correct gauge.
- Switch Repair: Repair or replace any faulty switches.
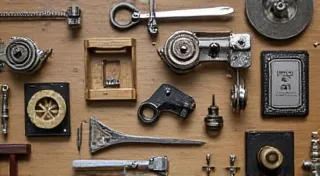
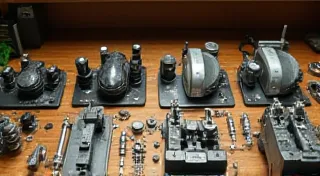
Sourcing Vintage Sewing Machine Parts
Finding the right parts can be challenging. Use our guide to identifying and sourcing vintage sewing machine parts to locate what you need. Sourcing original parts is crucial when restoring valuable antique sewing machines.
- Online Auctions: eBay and other online auction sites are excellent sources for vintage sewing machine parts.
- Antique Stores: Antique stores often carry vintage sewing machine parts.
- Sewing Machine Repair Shops: Contact local sewing machine repair shops; they may have access to parts or be able to order them for you.
Maintenance: Keeping Your Machine Running Smoothly
Once your machine is restored, regular maintenance is essential for keeping it running smoothly. Lubricate the moving parts regularly with a sewing machine oil. Clean the machine regularly to remove dust and lint. Store the machine in a dry place.
Conversion: Electric to Treadle
Considering a move from electric to manual power? Our guide to converting an electric sewing machine to treadle power provides insights and techniques. This conversion offers a unique blend of historical accuracy and mechanical elegance.
We hope this guide inspires you to breathe new life into your vintage sewing machines! Happy restoring!
Troubleshooting Table
| Problem | Possible Cause | Solution |
|---|---|---|
| Skipped Stitches | Incorrect Needle Size/Type, Incorrect Thread Tension, Feed Dog Issues | Use Correct Needle Size/Type, Adjust Thread Tension, Inspect/Clean Feed Dog |
| Thread Bunching | Incorrect Bobbin Case Spring, Incorrect Thread Path, Tension Issues | Replace Bobbin Case Spring, Ensure Correct Thread Path, Adjust Tension |
| Machine Won't Start | Power Cord Issues, Motor Problems, Switch Failure | Inspect Power Cord, Check Motor Function, Test Switch |
| Uneven Stitches | Feed Dog Issues, Incorrect Tension | Clean/Inspect Feed Dog, Adjust Tension |
This table provides a starting point for diagnosing and resolving common sewing machine problems. Always consult a qualified technician for complex repairs.